Guides › Photos on Mac
How to resize a photo to 50 KB on Mac
Updated 9 October 2026 · by Vistaar Studio
Short answer: open the photo in Preview, choose Tools › Adjust Size and lower the width (try 600 pixels). Then choose File › Export, set Format to JPEG and drag the Quality slider left until the File Size shown under it reads below 50 KB. Save. No download needed.
Job portals, exam forms, visa sites and government services often say "photo must be under 50 KB" (or 20 KB, or 100 KB). A photo straight off an iPhone is usually a few megabytes, so it needs to get many times smaller. Here's how to do it properly on a Mac, why it sometimes still gets rejected, and how to handle a whole batch.
Why a photo is "too big": two dials
A photo's file size depends on two things:
- Pixel dimensions (for example 4032 × 3024). Fewer pixels means less data. This is the big dial.
- Compression quality (for JPEG). Lower quality throws away fine detail. This is the fine-tuning dial.
Lowering quality alone on a 12-megapixel photo usually can't reach 50 KB without turning it into mush. Shrink the pixels first, then use quality to land just under the limit. Small, sharp and slightly compressed looks far better than huge and heavily compressed.
Method 1: Preview (built in, free)
- Make a copy first. In the Finder, select the photo and press ⌘ D. Preview edits the file you open, so work on the copy.
- Open the copy in Preview (double-click it, or right-click › Open With › Preview).
- Shrink the pixels. Choose Tools › Adjust Size. Set the unit to pixels, keep Scale proportionally and Resample image ticked, and type a width. For a face or ID-style photo, 400–600 px wide is a sensible start; for a document photo, try 800–1000 px. If the form asks for exact dimensions (such as 200 × 230 px), use those. Click OK.
- Export as JPEG. Choose File › Export. Set Format to JPEG.
- Drag the Quality slider left. Preview shows the estimated File Size just below it. Stop when it reads comfortably under 50 KB (aim for about 45 KB, see below).
- Click Save.
- Check the real size. Select the saved file in the Finder and press ⌘ I (Get Info). Look at the number of bytes, not just the rounded KB figure.
If quality needs to go very low before you get under 50 KB and the photo looks blocky, go back to step 3 and choose a smaller width instead.
Why aim for 45 KB, not 49 KB
macOS counts 1 KB as 1,000 bytes. Many upload forms count 1 KB as 1,024 bytes, and some use the size on disk. A file Finder calls "50 KB" can be rejected by a form with a 50 KB limit. Leaving a few KB of headroom avoids that. Some forms also have a minimum size (for example 20–50 KB), so don't overshoot downwards either.
Method 2: an iPhone HEIC photo
iPhone photos are often HEIC, which many forms don't accept. Preview handles it in the same flow: open the HEIC, adjust the size, then in File › Export choose JPEG. You get a converted, compressed JPEG in one go. If the form asks for PNG, note that PNG has no quality slider and photos saved as PNG are usually much bigger, so JPEG is the better choice when it's allowed.
Method 3: Terminal with sips (good for a folder)
Every Mac includes a command-line image tool called sips. This shrinks a photo so its longest side is 600 px and saves it as a JPEG at quality 60:
sips -Z 600 -s format jpeg -s formatOptions 60 photo.heic --out photo-small.jpgTo do a whole folder of JPEGs into a new small folder (your originals stay untouched):
cd ~/Desktop/photos
mkdir small
sips -Z 600 -s format jpeg -s formatOptions 60 *.jpg --out small/
Then check the sizes with ls -l small. sips doesn't aim for a file size, so if some are still over 50 KB, run again on those with a smaller -Z value or a lower quality number.
Method 4: a batch resizer that targets the size for you
The manual methods work, but they're trial and error per photo, and a pain with 30 photos or a signature that must be 10–20 KB. A batch resizer can do the guesswork. We make one, Pictailor, so weigh this with that in mind.
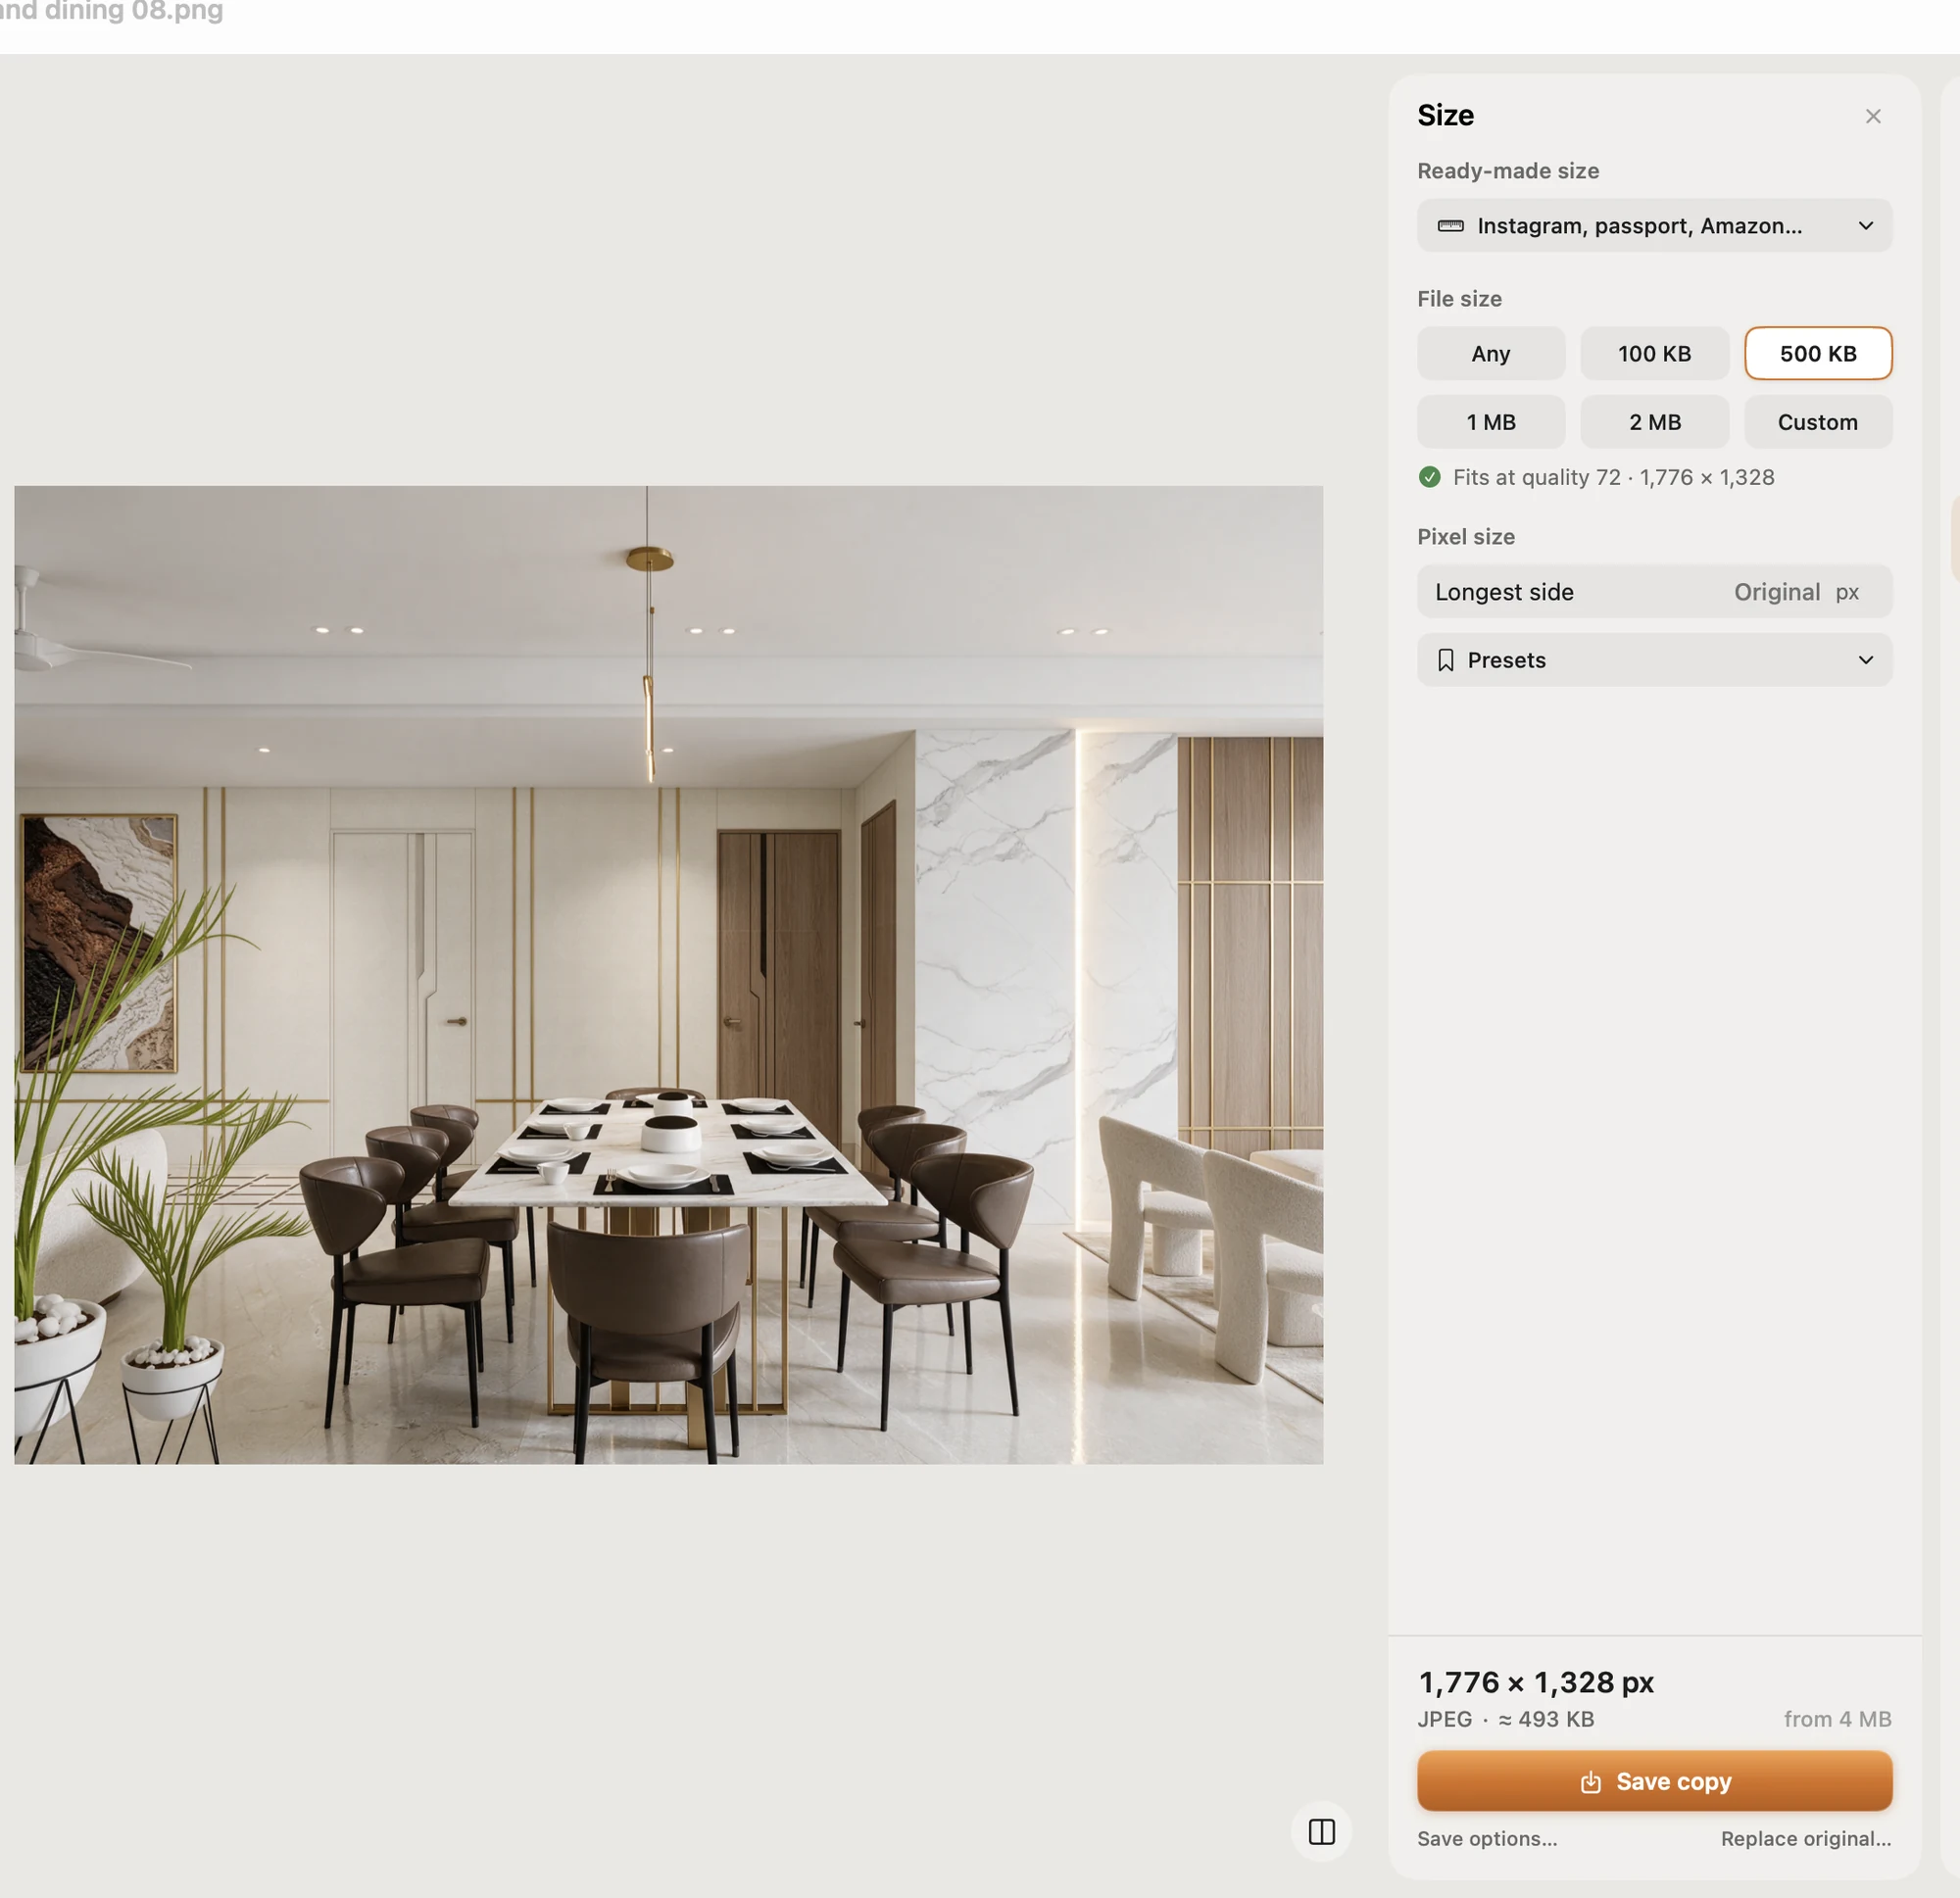
- Choose a file size limit (100 KB, 500 KB and more, or a Custom number such as 50 KB). The limit is checked on the real saved file, and photos are never enlarged.
- Resize a whole folder in one Save. Originals are never changed; copies go into a Pictailor folder beside them.
- Ready-made sizes for local passport and ID photos in many countries, exam photos and signatures of 10–20 KB, plus social and shop sizes.
- Reads and writes JPEG, PNG, HEIC, TIFF, PDF and more, and you can right-click photos in the Finder to resize without opening the app.
Pictailor is coming soon to the Mac App Store for $4.99 (₹499 in India), paid up front. It runs on Apple Silicon and Intel Macs with macOS 15 or later. Meet Pictailor →
Which method should you use?
| Situation | Best fit |
|---|---|
| One photo, once | Preview |
| iPhone HEIC to a small JPEG | Preview (Export as JPEG) |
| A folder, and you're happy in Terminal | sips |
| Many photos that must each fit an exact KB limit | A batch resizer such as Pictailor |
Before you upload: a quick checklist
- Is it the required format (usually JPEG/JPG)?
- Is it under the maximum and over any minimum size?
- Does it match required pixel dimensions or proportions, if stated?
- Is the face or text still clear when you zoom in?
- Is the file name simple (no emoji or unusual symbols)? Some older portals reject them.
FAQ
How do I reduce a photo to 50 KB on Mac without an app?
Use Preview: Tools › Adjust Size to lower the width (try 600 px), then File › Export as JPEG and lower Quality until the File Size reads under 50 KB.
Why is my photo still too big after lowering the quality?
The pixel dimensions are probably still large. Reduce the width first, then fine-tune with quality.
Why does the website reject my 50 KB photo?
Many forms count 1 KB as 1,024 bytes while macOS uses 1,000, and some have minimum sizes, set dimensions or JPEG-only rules. Aim for around 45 KB and check the form's other requirements.
Can I convert an iPhone HEIC photo to a small JPEG on Mac?
Yes. Open it in Preview, choose File › Export, pick JPEG and adjust Quality.
How do I resize many photos to under 50 KB at once on Mac?
Preview can resize several at once but you'll check each size by hand; sips can shrink a folder from Terminal; a batch resizer can target the exact size for every photo.