Guides › Photos
How to change image DPI to 300 on Mac
Updated 21 October 2026 · by Vistaar Studio
Short answer: open a copy of the image in Preview, choose Tools › Adjust Size, untick "Resample image", type 300 in Resolution (pixels/inch) and click OK, then save. The pixels stay exactly the same; only the print size changes. To check the result, press ⌘ I in Preview and read Image DPI.
Print shops, photo books, Etsy printables, publishers and some application forms ask for "300 DPI". Most Mac photos and screenshots say 72, which looks like a problem but usually isn't. The DPI number is a label stored in the file. What actually matters is how many pixels the image has. This guide shows how to change the label, how to tell whether you have enough pixels for the print, and one Terminal trap we found while testing.
What DPI really means (30 seconds)
DPI (dots per inch, strictly PPI for pixels) tells a printer how many of the image's pixels to squeeze into one inch of paper. The same 1200 × 1800 pixel photo prints at 4 × 6 inches at 300 DPI, or as a blurry 16.7 × 25 inches at 72 DPI. On screen, and on almost every website, the DPI number is ignored: a 1200-pixel-wide photo shows 1200 pixels wide whatever its label says.
So there are two very different jobs, and it's worth knowing which one you have:
- "The form or printer wants the file to say 300 DPI", and the photo already has plenty of pixels. Change the label only (Resample off). Nothing about the picture changes.
- "I need this to print sharp at a certain size". Check that you have enough pixels (table below). If you don't, changing the label won't help.
1. Check the DPI of an image on Mac
- Open the image in Preview.
- Choose Tools › Show Inspector (or press ⌘ I).
- On the General tab, look at Image DPI and the size in pixels.
In Terminal, sips -g dpiWidth -g dpiHeight -g pixelWidth -g pixelHeight photo.jpg prints the same four numbers. A file with no DPI stored at all shows as 72, which is the Mac's default.
2. Change the DPI in Preview without changing the pixels
- Make a copy first: select the image in the Finder and press ⌘ D. Preview saves changes into the file you open.
- Open the copy in Preview and choose Tools › Adjust Size.
- Untick "Resample image". This is the important step. With it off, Preview won't add or remove pixels.
- Set the unit next to Resolution to pixels/inch and type 300.
- Watch the Width and Height in inches (or cm) shrink. That's the size the photo will print at, sharp, at 300 DPI. The pixel count at the bottom of the box stays the same.
- Click OK, then File › Save (⌘ S).
Press ⌘ I again to confirm it now says 300. If you want a specific print size instead, type the width in inches or cm with Resample still unticked; Preview works out the DPI for you.
3. How many pixels do you need for a 300 DPI print?
Multiply the print size in inches by 300 (for centimetres, divide by 2.54 first). If your photo has at least this many pixels, it will print sharp at that size:
| Print size | Pixels at 300 DPI | Typical use |
|---|---|---|
| 35 × 45 mm | 413 × 531 | Passport and visa photos (India, Schengen and many others) |
| 2 × 2 in | 600 × 600 | US passport photo |
| 4 × 6 in (10 × 15 cm) | 1200 × 1800 | Standard photo print |
| 5 × 7 in | 1500 × 2100 | Frames, cards |
| 8 × 10 in | 2400 × 3000 | Wall prints, portraits |
| A4 (210 × 297 mm) | 2480 × 3508 | Full-page prints, printables, documents |
Any recent iPhone photo (4032 × 3024 pixels on most models) is more than enough for 8 × 10. Screenshots, images saved from websites and photos sent over WhatsApp are often too small for anything bigger than 4 × 6.
Not enough pixels? Ticking Resample and typing a bigger size will invent pixels, which makes the file bigger but not sharper. Find the original photo instead (from your iPhone, the Photos app, or whoever sent it) and start from that.
4. Exporting a PDF page as a 300 DPI image
If you're turning a PDF page into a picture (for a print shop or a form that wants JPG), open the PDF in Preview, choose File › Export, pick JPEG or PNG and type 300 in the Resolution box. Here the DPI does decide how many pixels you get, because a PDF page is drawn fresh at whatever resolution you ask for. Preview exports the page you're viewing, so for a multi-page PDF, go to the page you need first.
5. Terminal: change DPI for many files (and the JPEG trap)
The built-in sips command can set DPI on a whole folder. For PNG and TIFF it works as you'd expect:
mkdir 300dpi
sips -s dpiWidth 300 -s dpiHeight 300 *.png --out 300dpi/
The trap: we ran the same command on JPEGs on macOS Tahoe 26.2 and the result still read 72 DPI, both in sips and through Apple's image framework that Preview uses. Looking inside the file showed why: sips wrote the number 300 into the JPEG header but with no unit ("aspect ratio only"), so apps ignore it. Going through PNG worked:
mkdir 300dpi
for f in *.jpg; do
  sips -s format png -s dpiWidth 300 -s dpiHeight 300 "$f" --out /tmp/dpi.png
  sips -s format jpeg -s formatOptions 92 /tmp/dpi.png --out "300dpi/$f"
done
That writes a 300 DPI JPEG copy of every photo into a 300dpi folder and leaves the originals alone. Two honest catches: the photo is re-compressed once, at quality 92 (our 1200 × 630 test file grew from 106 KB to 166 KB), and sips is case-sensitive, so add *.JPG if your camera uses capitals. Check one result with sips -g dpiWidth before you send the batch anywhere.
Common problems
- The print shop says the image is "low resolution" even at 300 DPI. They're looking at pixels. Compare your pixel size with the table above.
- The form wants 300 DPI and under 100 KB. Keep the DPI label at 300 but reduce the pixels to what the print size needs, then lower JPEG quality. Our guide to resizing a photo to 50 KB on Mac shows how.
- Preview changed the pixel size anyway. Resample was still ticked. Undo (⌘ Z), or go back to your copy, and try again with it unticked.
- The photo prints at the wrong size. In the Print dialog, set Scale to 100% rather than "Scale to Fit", or the printer will stretch it to the paper.
Exact print sizes for a whole folder: Pictailor
We make this app, so read this part with that in mind. Changing the DPI label is a Preview job. Where Pictailor helps is the next step most people have: getting photos to the right size in pixels and KB for a form, a print or a shop, a whole folder at a time.
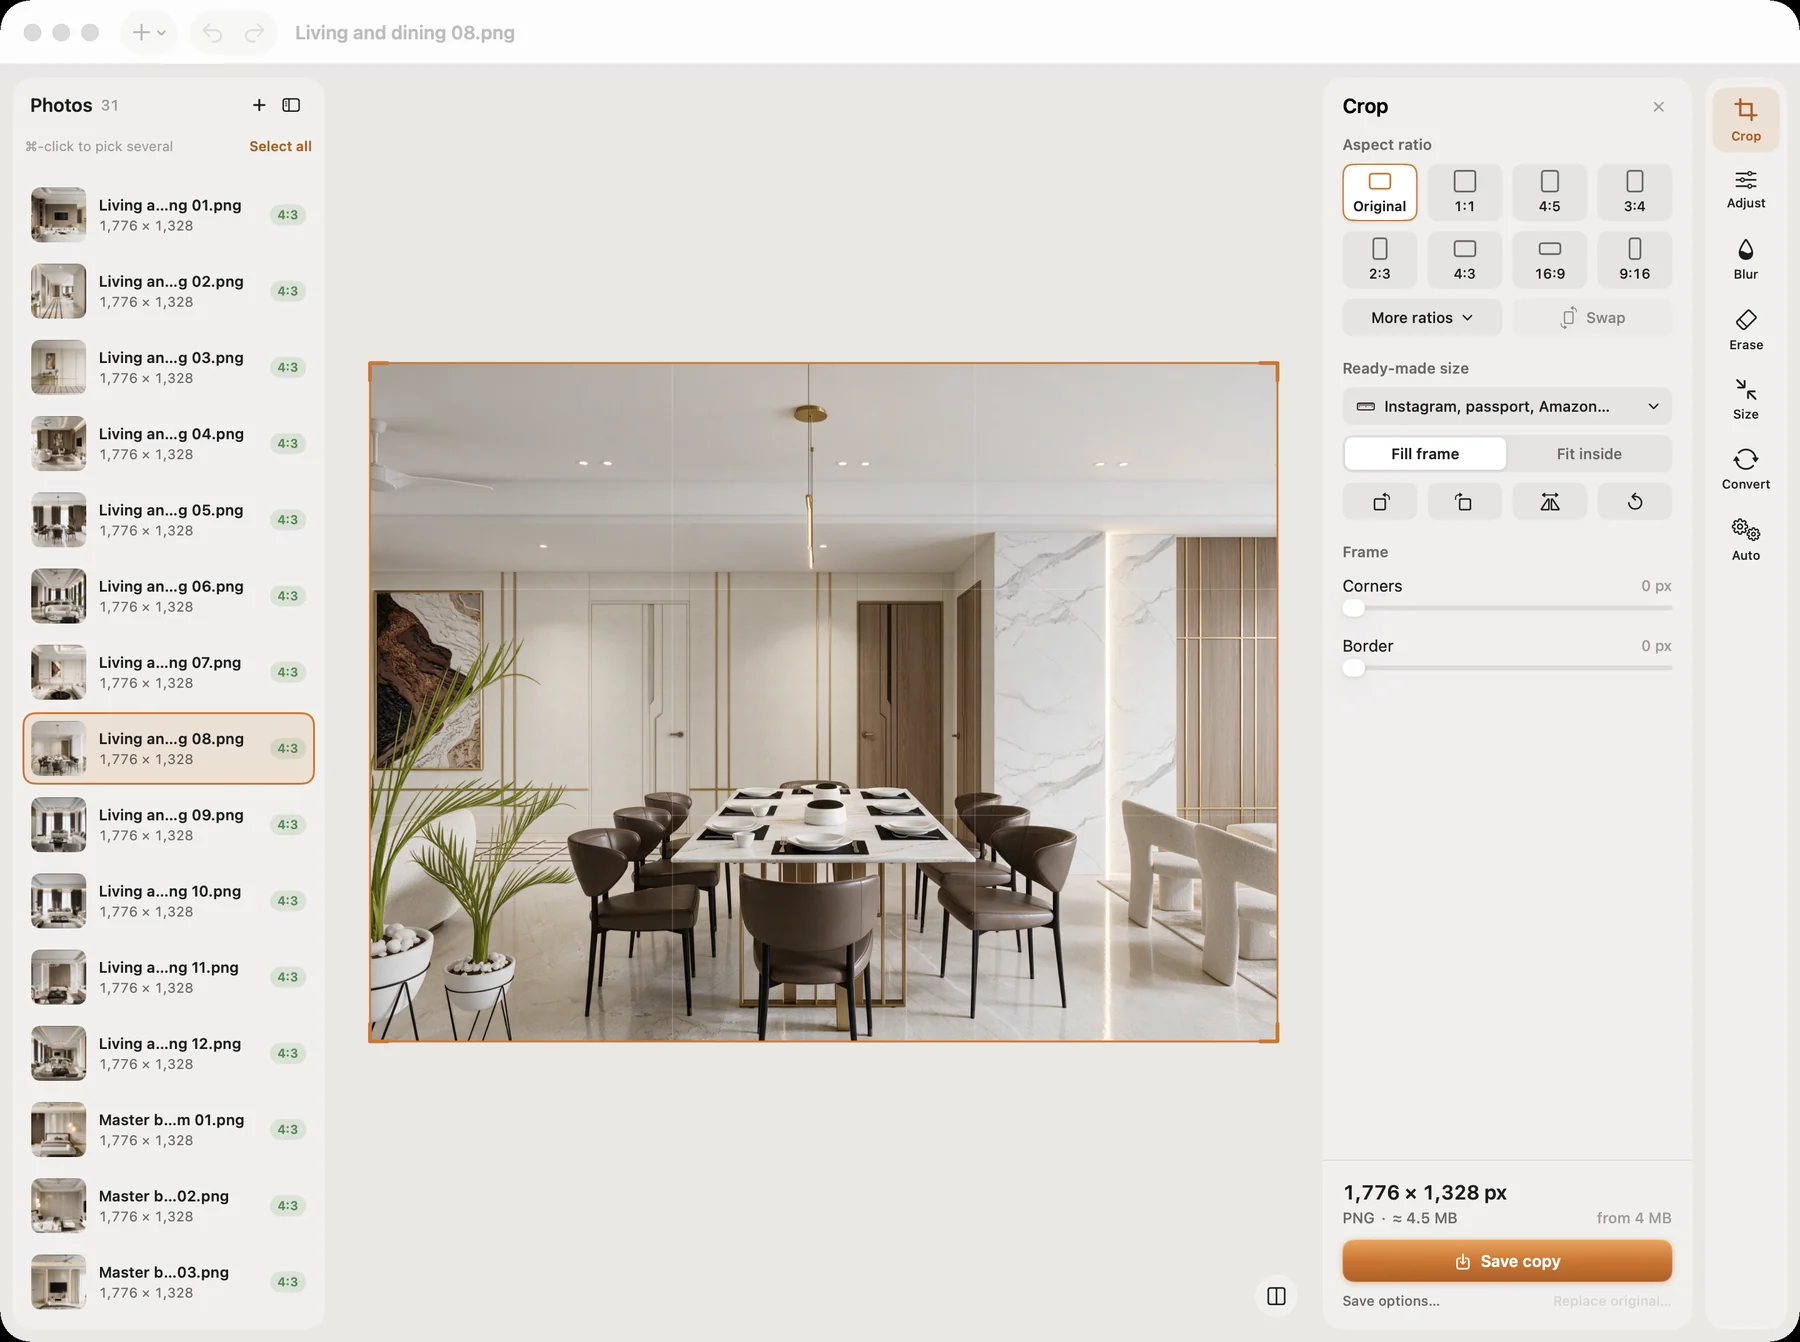
- Ready-made sizes for passport and ID photos for many countries, exam photos and signatures, social posts and online shops. Its 35 × 45 mm photo preset, for example, is 413 × 531 pixels: 300 DPI maths done for you.
- Compress to an exact file size (under 500 KB, 100 KB, 20 KB…), checked on the real saved file. It never enlarges a photo, so it won't fake resolution you don't have.
- Batch resize a whole folder in one Save. Originals are never changed: copies go to a Pictailor folder beside them.
- Opens and saves JPEG, PNG, HEIC, TIFF, PDF, ICO, ICNS and GIF.
Pictailor is available now from vistaar.studio for $5 (₹499 in India), paid up front, with a licence key for 1 Mac. It's also on the Mac App Store for $4.99. It runs on Apple Silicon and Intel Macs with macOS 15 or later. Meet Pictailor →
FAQ
How do I change an image to 300 DPI on a Mac?
In Preview: Tools › Adjust Size, untick Resample image, type 300 pixels/inch in Resolution, OK, save. Work on a copy.
How do I check the DPI of an image on a Mac?
Open it in Preview and press ⌘ I; the General tab shows Image DPI. Or run sips -g dpiWidth photo.jpg in Terminal.
Does changing DPI make the photo better quality?
No. It only changes the print size. Sharpness depends on how many pixels the photo has.
How many pixels do I need for a 300 DPI print?
Inches × 300: 1200 × 1800 for 4 × 6, 2400 × 3000 for 8 × 10, about 2480 × 3508 for A4.
Why does my JPEG still show 72 DPI after using sips?
In our tests sips saved the 300 without a unit, so apps ignored it. Convert through PNG (the loop in section 5), or use Preview.
Does changing DPI change the file size?
Barely, with Resample off; re-saving a JPEG can nudge the KB a little. Lowering the resolution with Resample on makes the file smaller because pixels are removed.