Guides › Photos
How to make an image square on Mac
Updated 24 October 2026 · by Vistaar Studio
Short answer: to crop to a square, open the photo in Photos, click Edit › Crop, open the Aspect menu and choose Square. In Preview, hold ⇧ Shift while you drag a selection, then press ⌘ K to crop. If you can't lose any part of the picture, add white borders instead. The Terminal and Keynote methods below do that.
Square images are everywhere: profile pictures, product listings, catalogue grids, app icons, some social posts. Turning a wide or tall photo into a square always means one of two things. Either you cut some of it off, or you add empty space around it. Decide which you want first, because it changes the method.
Crop or add borders?
| Crop to square | Add borders (pad) | |
|---|---|---|
| What happens | The edges of the longer side are cut off | The whole photo stays; empty space fills the gaps |
| Good for | Portraits, profile pictures, photos with space to spare | Products, logos, documents, group photos |
| Built-in ways | Photos, Preview, sips | sips, Keynote |
1. Photos: crop to Square (easiest, and you can undo it)
- Double-click the photo in Photos and click Edit.
- Click Crop at the top.
- Open the Aspect menu on the right and choose Square.
- Drag the photo inside the frame to choose what stays. Drag a corner to zoom in.
- Click Done. To save a copy, choose File › Export › Export 1 Photo.
Photos edits are non-destructive: Image › Revert to Original brings back the full photo. If the file isn't in your library, drag it into Photos first, or use Preview.
2. Preview: Shift-drag a square selection
- Open the image in Preview. If you want to keep the original, choose File › Duplicate first.
- If you don't see the selection tool, click the Markup button and choose the Rectangular Selection tool.
- Hold ⇧ Shift and drag over the picture. The box stays square. Drag inside it to move it.
- Choose Tools › Crop (⌘ K).
- Check the result with Tools › Adjust Size. Width and height should match. If you also want a set size, such as 1080 × 1080, type it there with Scale proportionally ticked.
Dragging by hand can leave you a pixel or two off square. Most websites won't mind; if yours is strict, use the Terminal method, which is exact.
3. Terminal: exact squares, one photo or a whole folder
macOS includes an image tool called sips. Open Terminal, type cd (with a space), drag your folder into the window and press Return. First find the size of a photo:
sips -g pixelWidth -g pixelHeight photo.jpgCrop the centre to a square. Use the shorter side. For a 1920 × 1080 photo:
sips -c 1080 1080 photo.jpg --out square.jpgAdd white borders instead. Use the longer side. The photo goes in the middle:
sips -p 1920 1920 --padColor FFFFFF photo.jpg --out square.jpgsips may print a line starting <CGColor when padding; that's harmless. Change FFFFFF to any hex colour, such as 000000 for black. To shrink the square afterwards, add sips -Z 1080 square.jpg.
A whole folder. This loop crops every JPG in the current folder to a centred square and puts the results in a new square folder. The originals aren't touched:
mkdir square
for f in *.jpg; do
  w=$(sips -g pixelWidth "$f" | awk '/pixelWidth/{print $2}')
  h=$(sips -g pixelHeight "$f" | awk '/pixelHeight/{print $2}')
  s=$(( w < h ? w : h ))
  sips -c $s $s "$f" --out square/"$f"
done
For white borders instead of cropping, change w < h ? w : h to w > h ? w : h and -c $s $s to -p $s $s --padColor FFFFFF.
What we found when we tested it
We ran these commands on macOS Tahoe 26.2 with photo-style images from this site:
- A 1920 × 1080 landscape cropped with
-c 1080 1080came out exactly 1080 × 1080, cut evenly from both sides. - The same photo padded with
-p 1920 1920 --padColor FFFFFFcame out 1920 × 1920 with equal white bands above and below.sips -Z 1080then gave a clean 1080 × 1080 copy. - The folder loop handled a landscape and a portrait (1080 × 1920) in one go. Both came out 1080 × 1080. The portrait lost its top and bottom.
Two cautions. sips crops from the centre, so check that nobody's head got cut off in tall portraits. And if you ask -c for a size larger than the photo, sips adds black bars instead of cropping. That's why the loop uses the shorter side.
4. Keynote: white square with a preview
If you'd rather see what you're doing, Keynote works as a quick layout tool. Create a presentation, open the Document sidebar and set the Slide Size to a Custom Slide Size such as 2000 × 2000. Use a white theme and drop your photo onto the slide. Then choose File › Export To › Images and pick JPEG or PNG. You can place several photos on separate slides and export them all at once.
Square product photos in a batch: Pictailor
We make this app, so read this part with that in mind. For a few photos, Photos and Preview are all you need. Pictailor is for when a whole folder has to be square and meet a shop's or form's size, for example product photos for Amazon, Flipkart or Shopify.
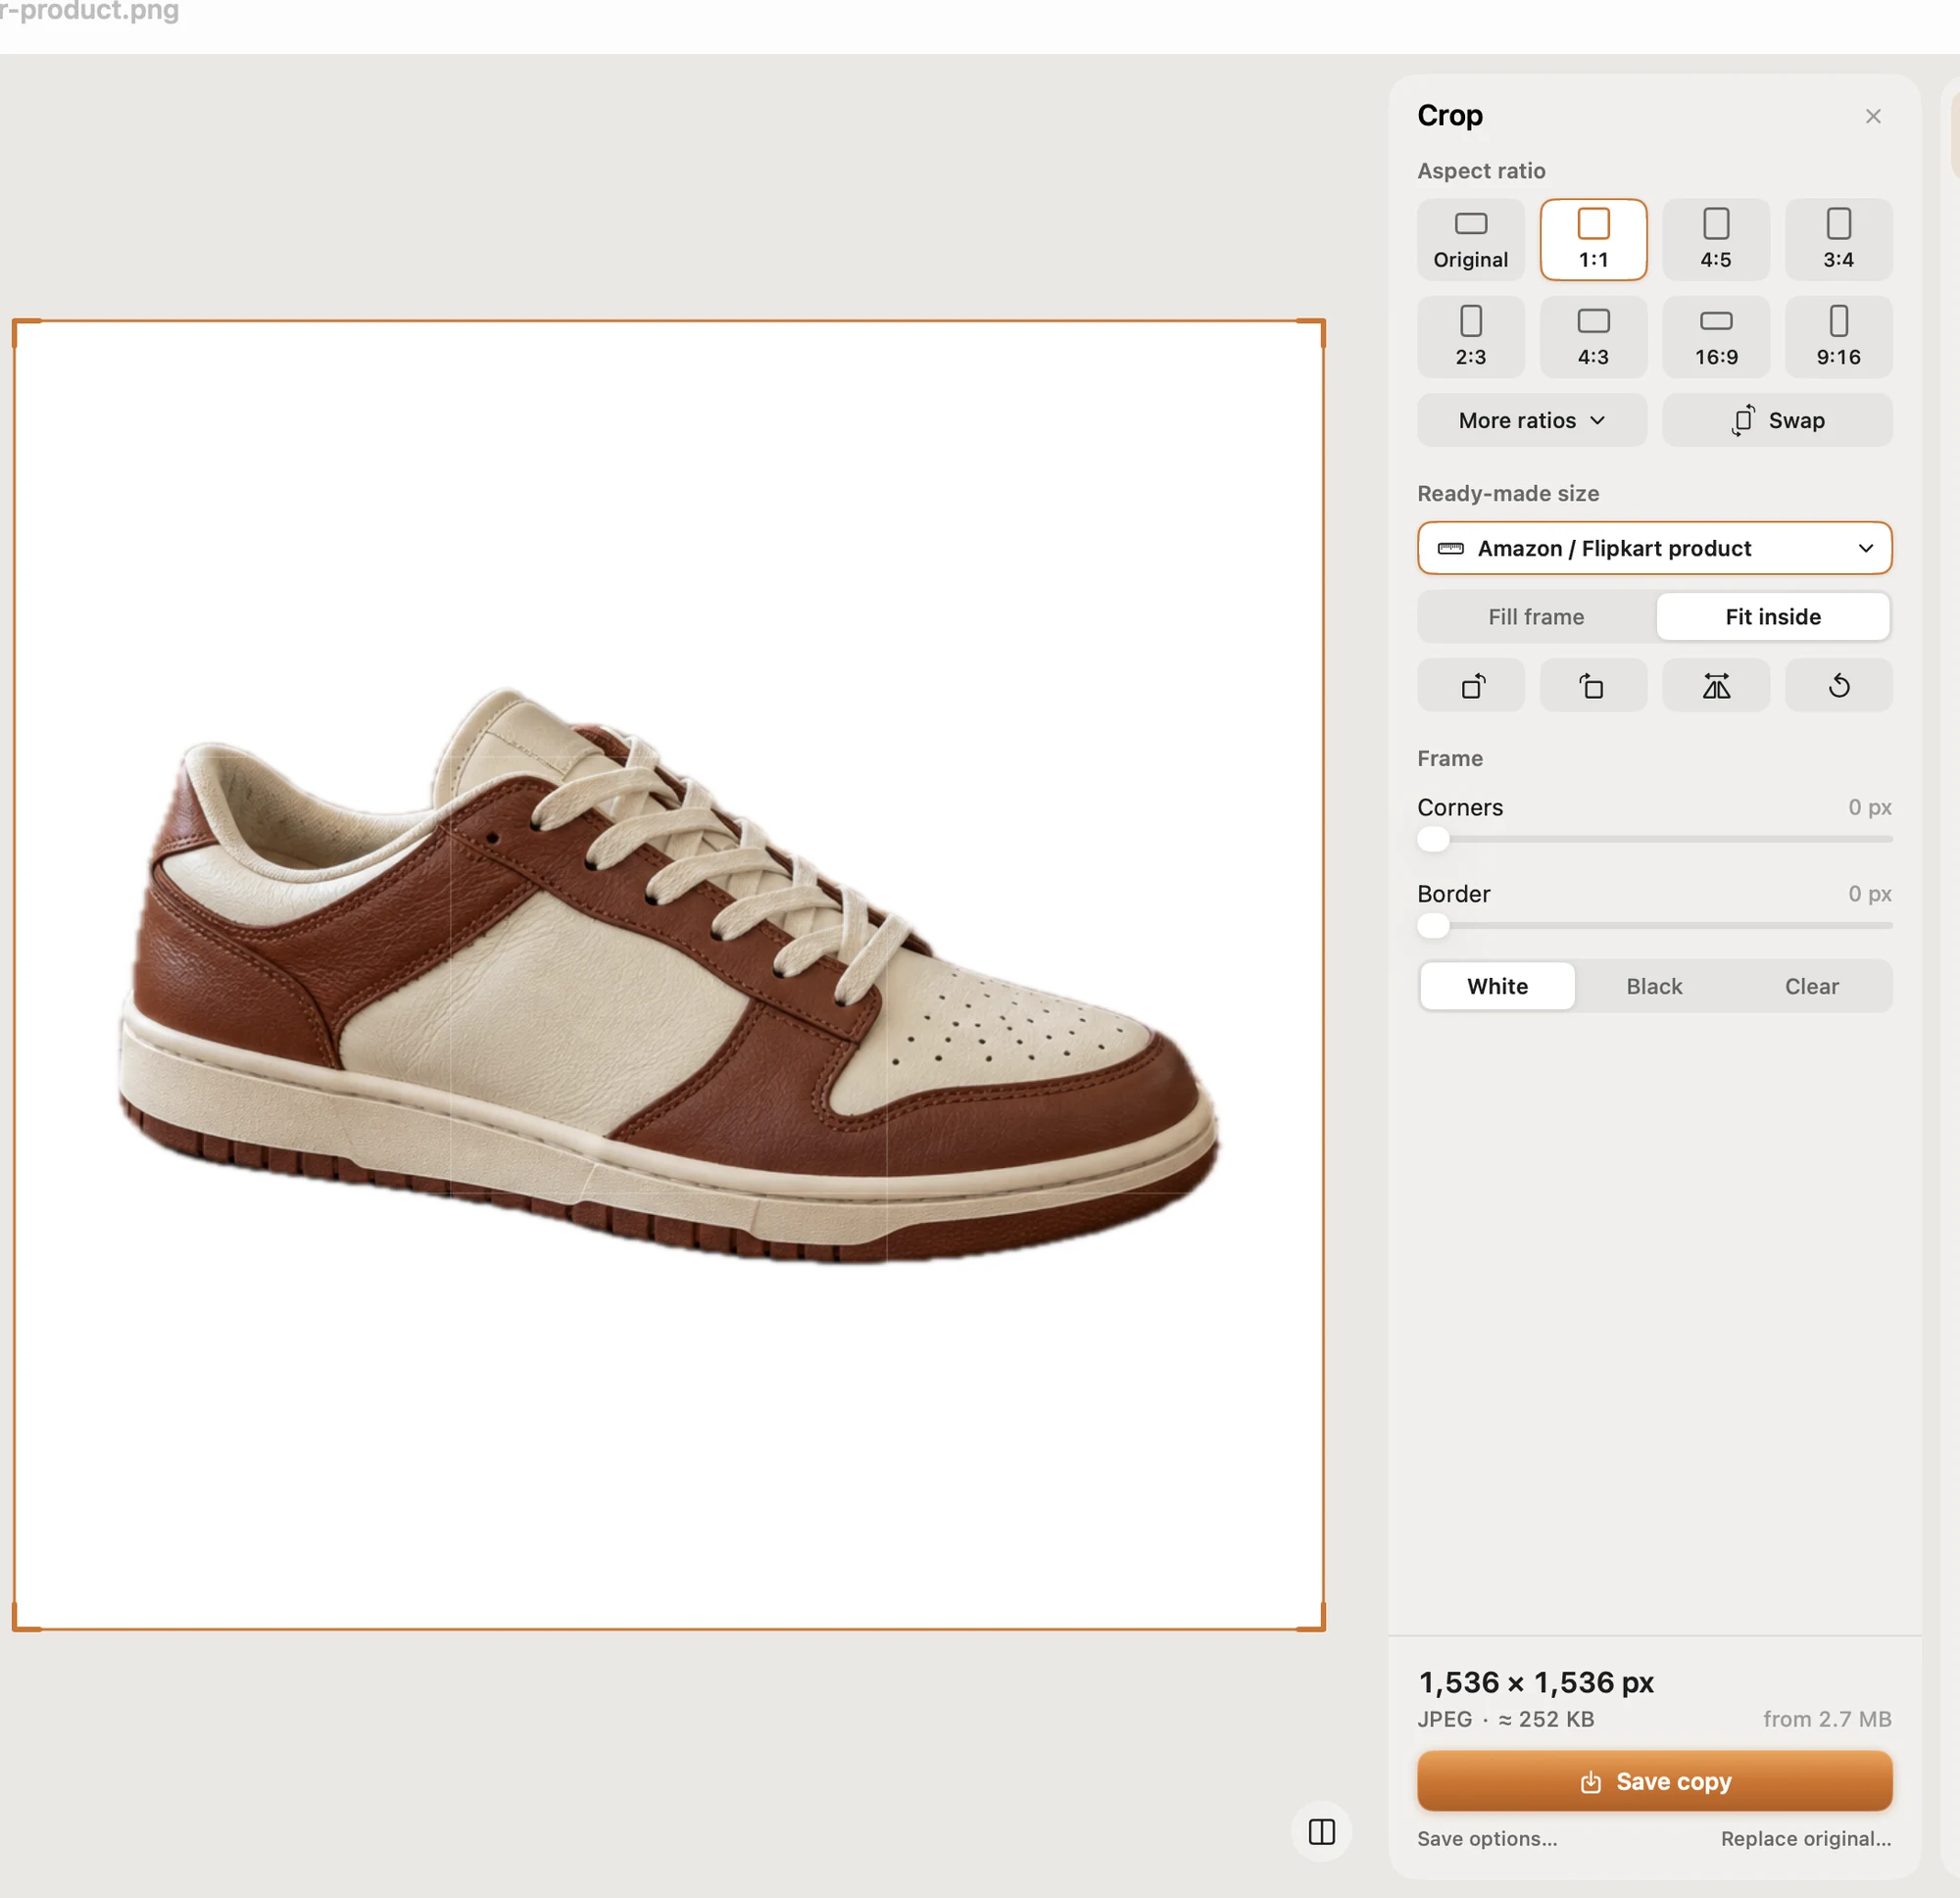
- Ready-made sizes for online shops (an Amazon and Shopify white square), social posts, passport and ID photos for many countries, exam photos and signatures.
- Batch resize a whole folder in one Save. Originals are never changed: copies go to a Pictailor folder beside them.
- Compress to an exact file size (under 500 KB, 100 KB, 20 KB…), checked on the real saved file. It never enlarges a photo.
- Remove the background on your Mac (one-time model download).
- Right-click in the Finder (Services) to resize without opening the app.
Pictailor is available now from vistaar.studio for $5 (₹499 in India), paid up front, with a licence key for 1 Mac. It's also on the Mac App Store for $4.99. It runs on Apple Silicon and Intel Macs with macOS 15 or later. Meet Pictailor →
FAQ
How do I crop a photo to a square on a Mac?
In Photos: Edit › Crop › Aspect › Square, frame it, click Done. In Preview: Shift-drag a selection, then Tools › Crop.
How do I make an image square without cropping it?
Add borders: sips -p 1920 1920 --padColor FFFFFF photo.jpg --out square.jpg (use the longer side), or place it on a white square slide in Keynote and export.
How do I make many photos square at once?
Use the sips loop above. It works out each photo's shorter side and crops the centre into a new folder.
Does Preview have a square crop option?
Not as a menu item, but holding Shift while dragging keeps the selection square.
What size should a square image be?
1080 × 1080 is common for social posts. Shops usually want 1,000 px or more per side. Check the site's own help page.
Will making an image square lower its quality?
Cropping doesn't soften what's left, but re-saving a JPEG costs a little. Keep the original and work on a copy.