Guides › Photos
How to make photos smaller to email on Mac
Updated 17 October 2026 · by Vistaar Studio
Short answer: in Mail, add the photos to your message, then open the image size pop-up menu on the right of the message header and choose Medium (or Small). Mail shrinks the copies it sends and shows the new message size; your originals don't change. Not using Mail? Select the photos in the Finder, Control-click › Quick Actions › Convert Image, choose JPEG and a smaller Image Size.
A single iPhone photo can be several megabytes, so five or six of them can be too much for one email. For someone looking at photos on a screen, a much smaller copy looks the same. Here are the built-in ways to make that copy, from quickest to most precise.
How big is too big?
- Gmail lets personal accounts send up to 25 MB of attachments; anything bigger becomes a Google Drive link.
- Other providers, and the recipient's mail server, may accept less. Keeping a message under about 20 MB avoids most bounces.
- Attachments travel encoded, so a message ends up a bit bigger than the files themselves. Leave some room.
For viewing on a phone or laptop, around 1,600–2,000 pixels on the longest side is plenty. As a JPEG that's usually a few hundred kilobytes rather than several megabytes.
1. Mail's image size menu (easiest)
- Write your message in Mail and add the photos: drag them in, or click the paperclip, or use Share › Mail from Photos.
- Look at the right side of the message header. When Mail can offer other sizes for the images, there's an image size pop-up menu there, with the total message size beside it.
- Choose a smaller size, such as Medium. The size figure updates so you can see the saving before you click Send.
By default Mail inserts images at their actual size, so this is a step you have to take each time. If the menu isn't there, the attachments may not be images Mail can resize (a PDF, for example), or they're already small. Use one of the methods below instead.
2. Photos: export a smaller copy
- In Photos, select the pictures.
- Choose File › Export › Export [number] Photos.
- Set Photo Kind to JPEG, JPEG Quality to High or Medium, and Size to Large or Medium. Custom lets you type a maximum width or height, such as 1600.
- Click Export, choose a folder, and attach the files from there.
This is also the way to get JPEGs out of iPhone HEIC photos at the same time. Turn off Location Information in the export window if you don't want to send where the photo was taken.
3. Finder: Convert Image quick action
For photos that are already files (in Downloads, on the desktop, from a camera card):
- Select them in the Finder, Control-click and choose Quick Actions › Convert Image.
- Set Format to JPEG and Image Size to Medium or Large.
- Click Convert. Smaller copies appear next to the originals, which stay as they were.
It's built into macOS Monterey and later, handles one photo or dozens at once, and converts HEIC to JPG along the way (more in our HEIC to JPG guide).
4. Preview: when you want to see the file size
- Open the photo in Preview and choose File › Export.
- Pick JPEG and drag the Quality slider. Preview shows the resulting file size under it as you go.
- To make it smaller still, cancel, choose Tools › Adjust Size, set the width to something like 1600 pixels (keep Scale proportionally on), then export again.
Adjust Size changes the open file, so export to a new name or File › Duplicate first if you want to keep the full-size original. Preview can do several photos at once too: open them together, select all thumbnails in the sidebar, then use Adjust Size and File › Export Selected Images.
5. Terminal: a whole folder at once
For a big batch, macOS's built-in sips tool does it in one line. In Terminal, go to the folder (type cd and drag the folder into the window, then press Return) and run:
mkdir email
sips -Z 1600 -s format jpeg -s formatOptions 70 *.jpg --out email/
That makes copies whose longest side is 1,600 pixels at JPEG quality 70 in a new email folder. On our Mac (macOS 26.2) a 4032 × 2268 photo came out at 1600 × 900 and about 210 KB. Two cautions: sips -Z will enlarge photos that are smaller than 1,600 pixels, and *.jpg doesn't match files ending in .JPG or .heic, so adjust the pattern to your files.
6. Need full quality? Use Mail Drop
If the person needs the originals (to print or edit them), don't shrink anything. Mail can send big attachments with Mail Drop: when you're signed in to iCloud and the files are over your provider's limit, Mail uploads them to iCloud and the recipient gets a download link. Mail Drop handles up to 5 GB per message and keeps the files for 30 days. The recipient's mail app may still treat it as a link to click rather than attachments in the message.
Which should you use?
| Method | Best for | Original kept? |
|---|---|---|
| Mail image size menu | Photos you're emailing right now from Mail | Yes |
| Photos export | Pictures in your Photos library | Yes |
| Finder Convert Image | Files in a folder, several at once | Yes |
| Preview | Watching the exact file size | Only if you export or duplicate |
| sips in Terminal | Big folders, repeatable | Yes (with --out) |
| Mail Drop | Full-size originals, up to 5 GB | Yes (nothing is shrunk) |
When there's a hard limit: Pictailor
Email is forgiving: "smaller" is usually enough. Forms, job portals and shops often aren't; they want a photo under exactly 500 KB or 100 KB. That's what we made Pictailor for, so read this part knowing it's our app.
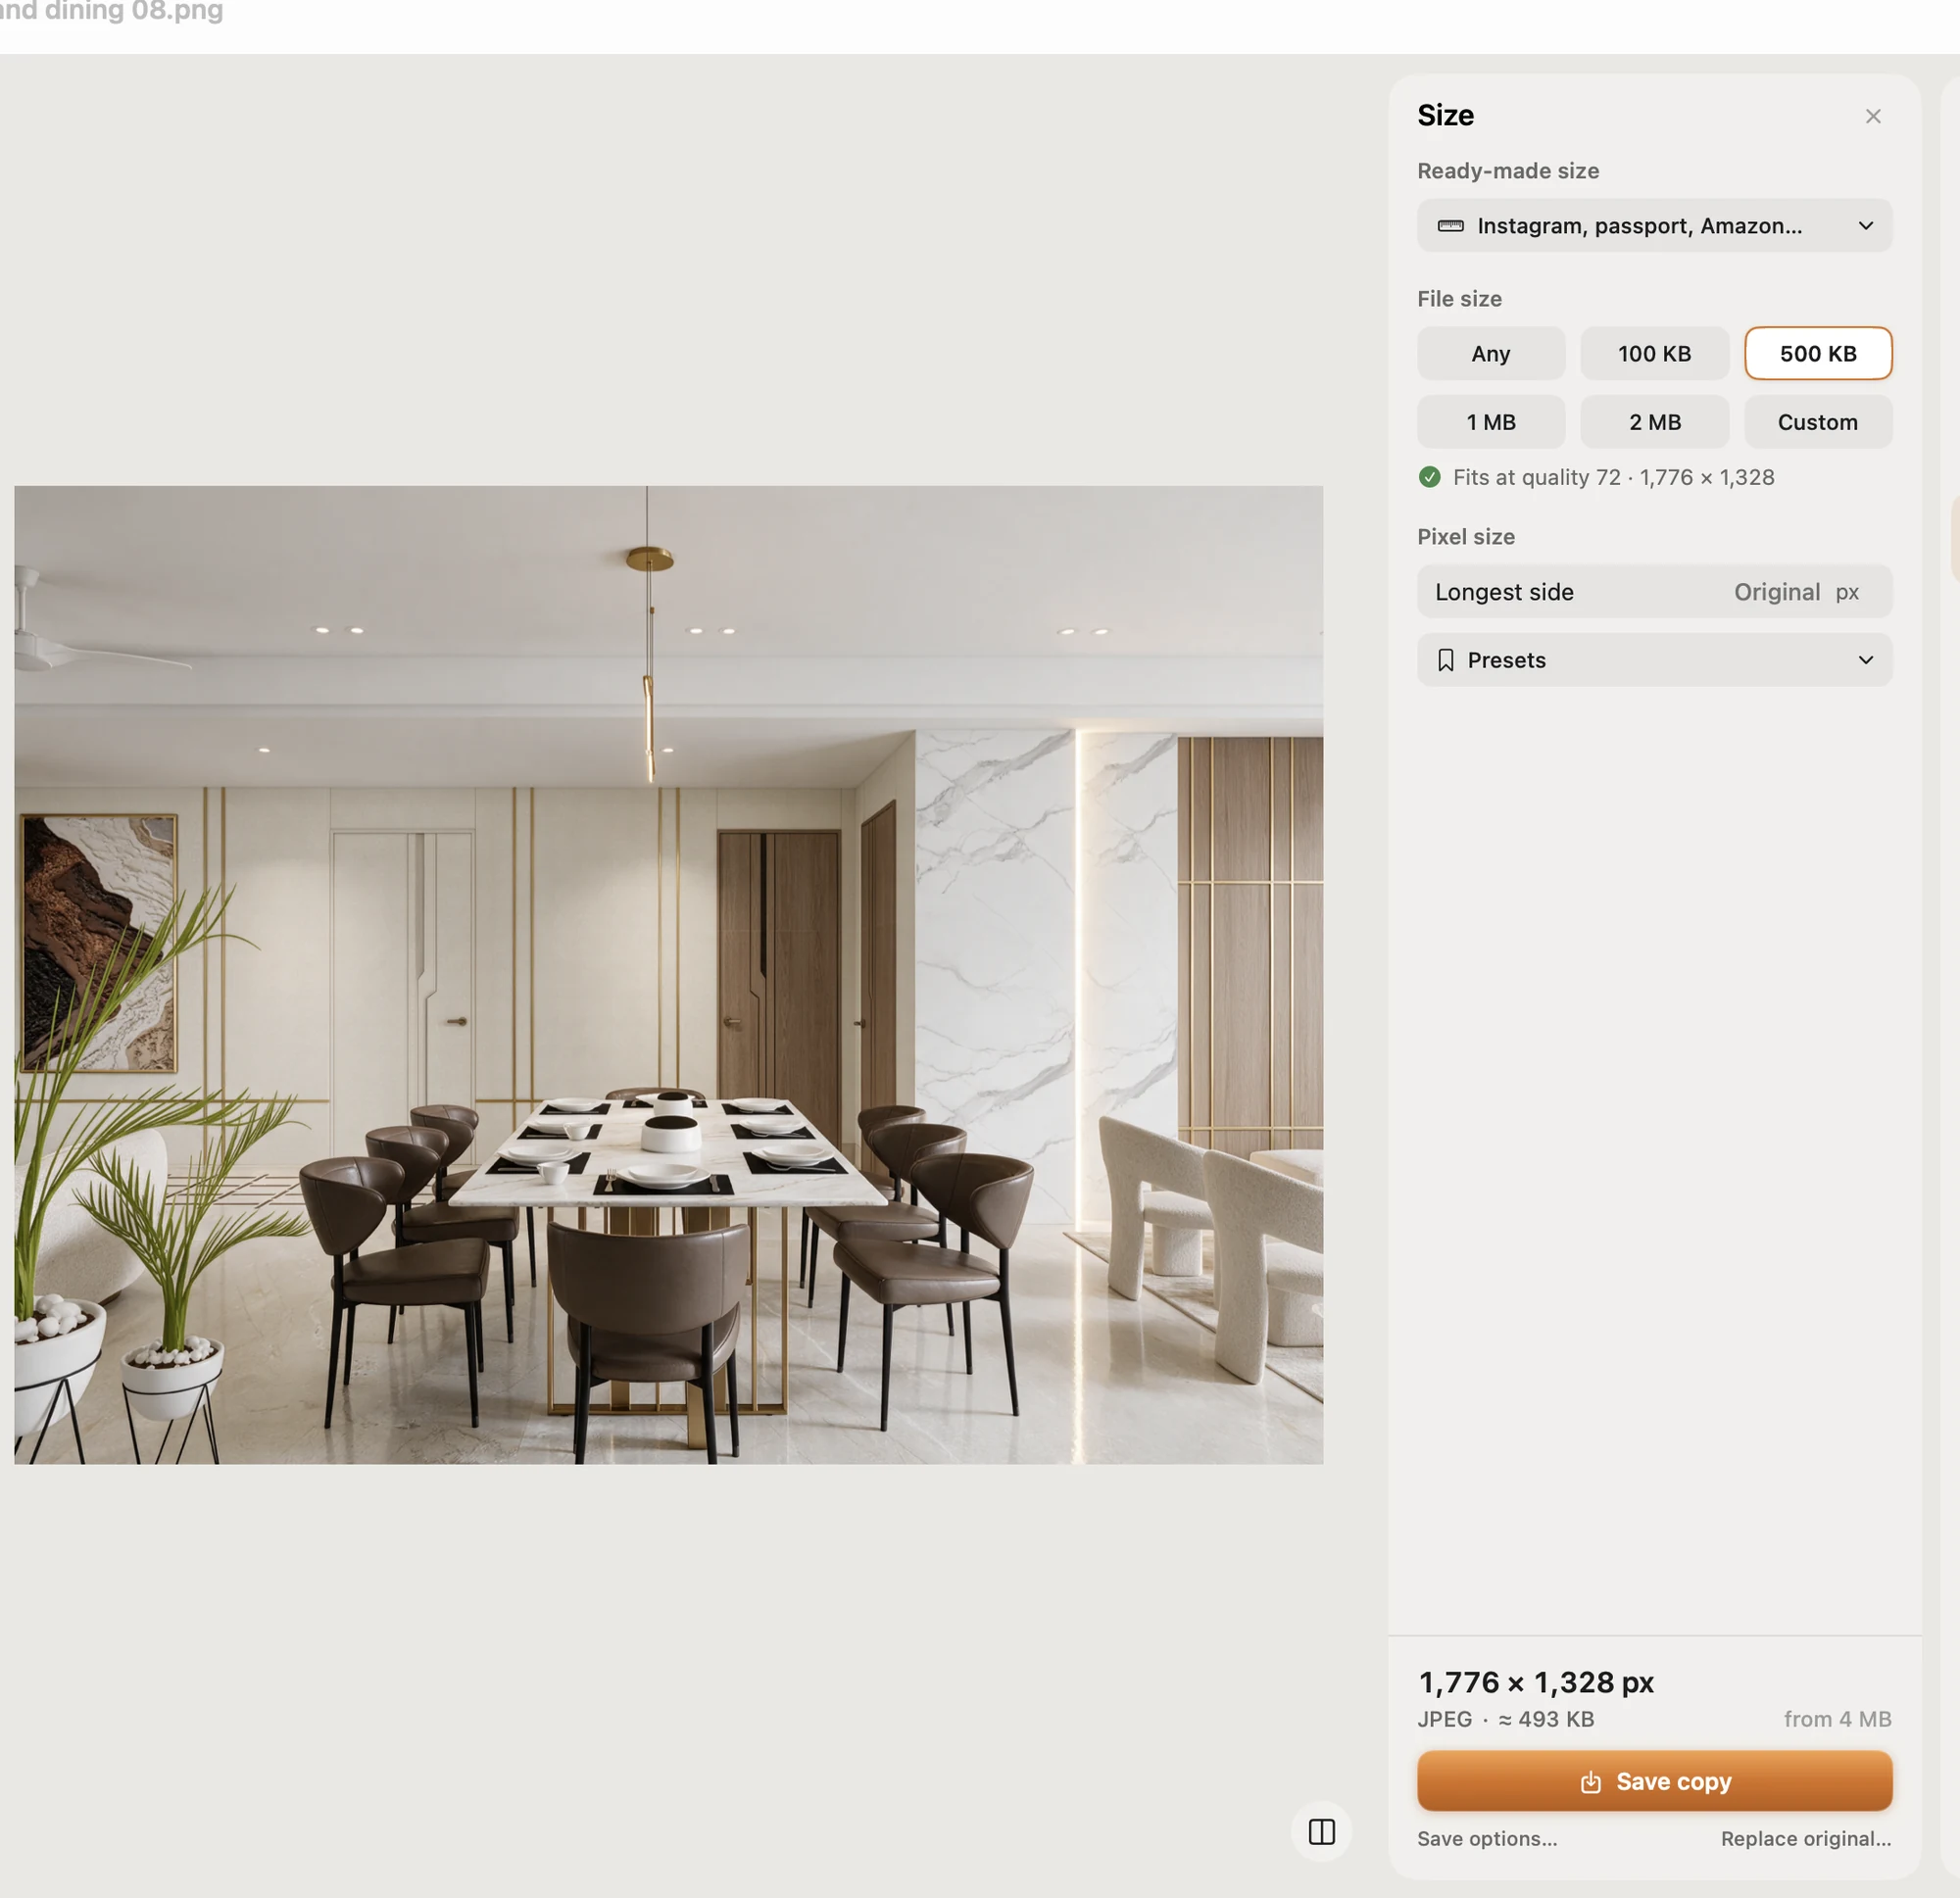
- Compress to an exact file size (under 500 KB, 100 KB, 20 KB…), checked on the real saved file. It never enlarges a photo.
- Batch: resize a whole folder in one Save. Originals are never changed; copies go to a Pictailor folder beside them.
- Right-click in the Finder (Services) to resize without opening the app.
- Saves JPEG, PNG, HEIC, TIFF, PDF and more.
Pictailor is available now from vistaar.studio for $5 (₹499 in India), paid up front, with a licence key for 1 Mac. It's also on the Mac App Store for $4.99. It runs on Apple Silicon and Intel Macs with macOS 15 or later. Meet Pictailor →
FAQ
How do I reduce the size of a photo to email on a Mac?
In Mail, add the photos, then pick a smaller size such as Medium from the image size menu on the right of the message header. Or use the Finder's Quick Actions › Convert Image first.
Why can't I see the image size menu in Mail?
Mail shows it only when it can offer other sizes for the images. PDFs, other files and already-small photos don't get it; shrink them in Photos, the Finder or Preview instead.
What is the maximum attachment size for email?
Personal Gmail: 25 MB. Other providers and receiving servers vary, so under about 20 MB is safer.
What size should photos be for email?
About 1,600–2,000 pixels on the longest side, as JPEG. That's usually a few hundred kilobytes.
How do I send full-size photos from a Mac?
Use Mail Drop (up to 5 GB, available for 30 days) or share an iCloud or Google Drive link.
Does shrinking a photo for email change the original?
Not with Mail, Photos export or Convert Image. Preview's Adjust Size does, so duplicate first.