Guides › Photos
How to convert HEIC to JPG on Mac
Updated 11 October 2026 · by Vistaar Studio
Short answer: select the photos in the Finder, Control-click and choose Quick Actions › Convert Image. Set Format to JPEG, pick a size (choose Actual Size to keep every pixel), tick Preserve Metadata and click Convert. The JPG copies appear next to the originals. It's free and built into macOS Monterey and later, and it works on one photo or a hundred.
iPhones save photos as HEIC (Apple calls the format HEIF) because it takes roughly half the space of JPEG at the same quality. Your Mac opens them without fuss, but plenty of other places don't: government and exam portals, job sites, older Windows PCs, some printing shops and online forms. Here are four built-in ways to turn them into ordinary JPGs, which one to use when, and how to stop the problem at the source.
1. Finder Quick Action: Convert Image (easiest)
- In the Finder, select one HEIC photo, or several (hold ⌘ and click, or drag a box around them).
- Control-click (right-click) the selection and choose Quick Actions › Convert Image.
- Set Format to JPEG.
- Set Image Size: Actual Size keeps the full resolution; Small, Medium or Large also shrink the photo, which is handy for email.
- Tick Preserve Metadata if you want to keep the date taken, camera details and location.
- Click Convert to JPEG. New
.jpgfiles appear in the same folder; the HEIC originals stay as they are.
If you don't see Convert Image, check that your Mac runs macOS Monterey (12) or later, and look under Quick Actions › Customise (System Settings › Login Items & Extensions › Finder) to make sure it's switched on.
2. Preview: when you also want to pick the quality
Preview lets you choose the JPEG quality, which matters if the result needs to be small.
- Select all the HEIC photos in the Finder and press ⌘ O. They open together in one Preview window. (If each opens in its own window, go to Preview › Settings › Images and set "When opening files" to open groups in the same window.)
- Show the sidebar (View › Thumbnails), click a thumbnail and press ⌘ A to select them all.
- Choose File › Export Selected Images, then click Options.
- Set Format to JPEG, drag the Quality slider, choose a folder and click Choose.
For a single photo it's simpler: open it, choose File › Export, set Format to JPEG and save. Export always writes a new file, so the original HEIC is safe.
3. Photos app: straight from your library
If the pictures are in the Photos app (for example, synced from your iPhone with iCloud Photos), there's no need to find the files first.
- Select the photos in Photos.
- Choose File › Export › Export N Photos (not "Export Unmodified Original", which keeps them as HEIC).
- Set Photo Kind to JPEG, pick a quality and size, and decide whether to include location information.
- Click Export and choose a folder.
A bonus: any edits you made in Photos (crops, straightening, filters) are baked into the JPG.
4. Terminal: a whole folder in seconds
For hundreds of photos, the built-in sips command is the quickest. Open Terminal, type cd (with a space), drag the folder into the window, press Return, then run:
mkdir jpg
sips -s format jpeg -s formatOptions 85 *.heic *.HEIC --out jpg/
That writes a JPG copy of every photo into a new jpg folder at quality 85 (out of 100), leaving the originals alone. We ran it on a Mac with macOS Tahoe 26.2: sips renames the copies to .jpg by itself and prints "Warning: Output file suffix changed to jpg", which is harmless. Two things to know: file names are case-sensitive, which is why the command lists both *.heic and *.HEIC (if one pattern matches nothing, Terminal shows an error for it and carries on with the other); and if you leave out formatOptions, sips picks its own quality.
Which way should you use?
| Convert Image | Preview | Photos | sips | |
|---|---|---|---|---|
| Many photos at once | Yes | Yes | Yes | Yes |
| Choose JPEG quality | No | Yes | Yes (Low to Maximum) | Yes (0–100) |
| Resize at the same time | Small / Medium / Large | Separately, via Adjust Size | Yes | Yes (add -Z 1600) |
| Keeps originals | Yes | Yes | Yes | Yes, with --out |
| Best for | Everyday use | Small files | Photos in your library | Huge folders |
Stop your iPhone making HEIC photos
If you keep having to convert, change the source. On the iPhone, open Settings › Camera › Formats and choose Most Compatible. New photos are then saved as JPEG (and videos as H.264). The catch: JPEGs take more space, so your iPhone and iCloud fill up faster. To switch back, choose High Efficiency.
There's also a setting for copying photos over a cable: in Settings › Apps › Photos, Keep Originals transfers HEIC files as they are, while the automatic option may convert them to JPEG for computers that need it.
Common problems
- The JPG is bigger than the HEIC. That's normal: HEIC compresses better. Lower the quality (Preview, Photos or sips) or resize at the same time.
- The photo looks rotated after converting. Open the original in Preview, rotate it the right way, and convert again. Most apps read the rotation flag, but a few older ones don't.
- A Live Photo became a still. JPG holds one frame. The moving part of a Live Photo lives in a separate video file.
- The form still says "file too large". Converting doesn't make the photo smaller in pixels. See our guide to resizing a photo to 50 KB on Mac for getting under a KB limit.
Convert, resize and compress in one go: Pictailor
We make this app, so read this part with that in mind. Converting is often only step one: the form also wants a certain size and a file under 100 KB. Pictailor is a batch photo resizer for Mac that does it all in one Save.
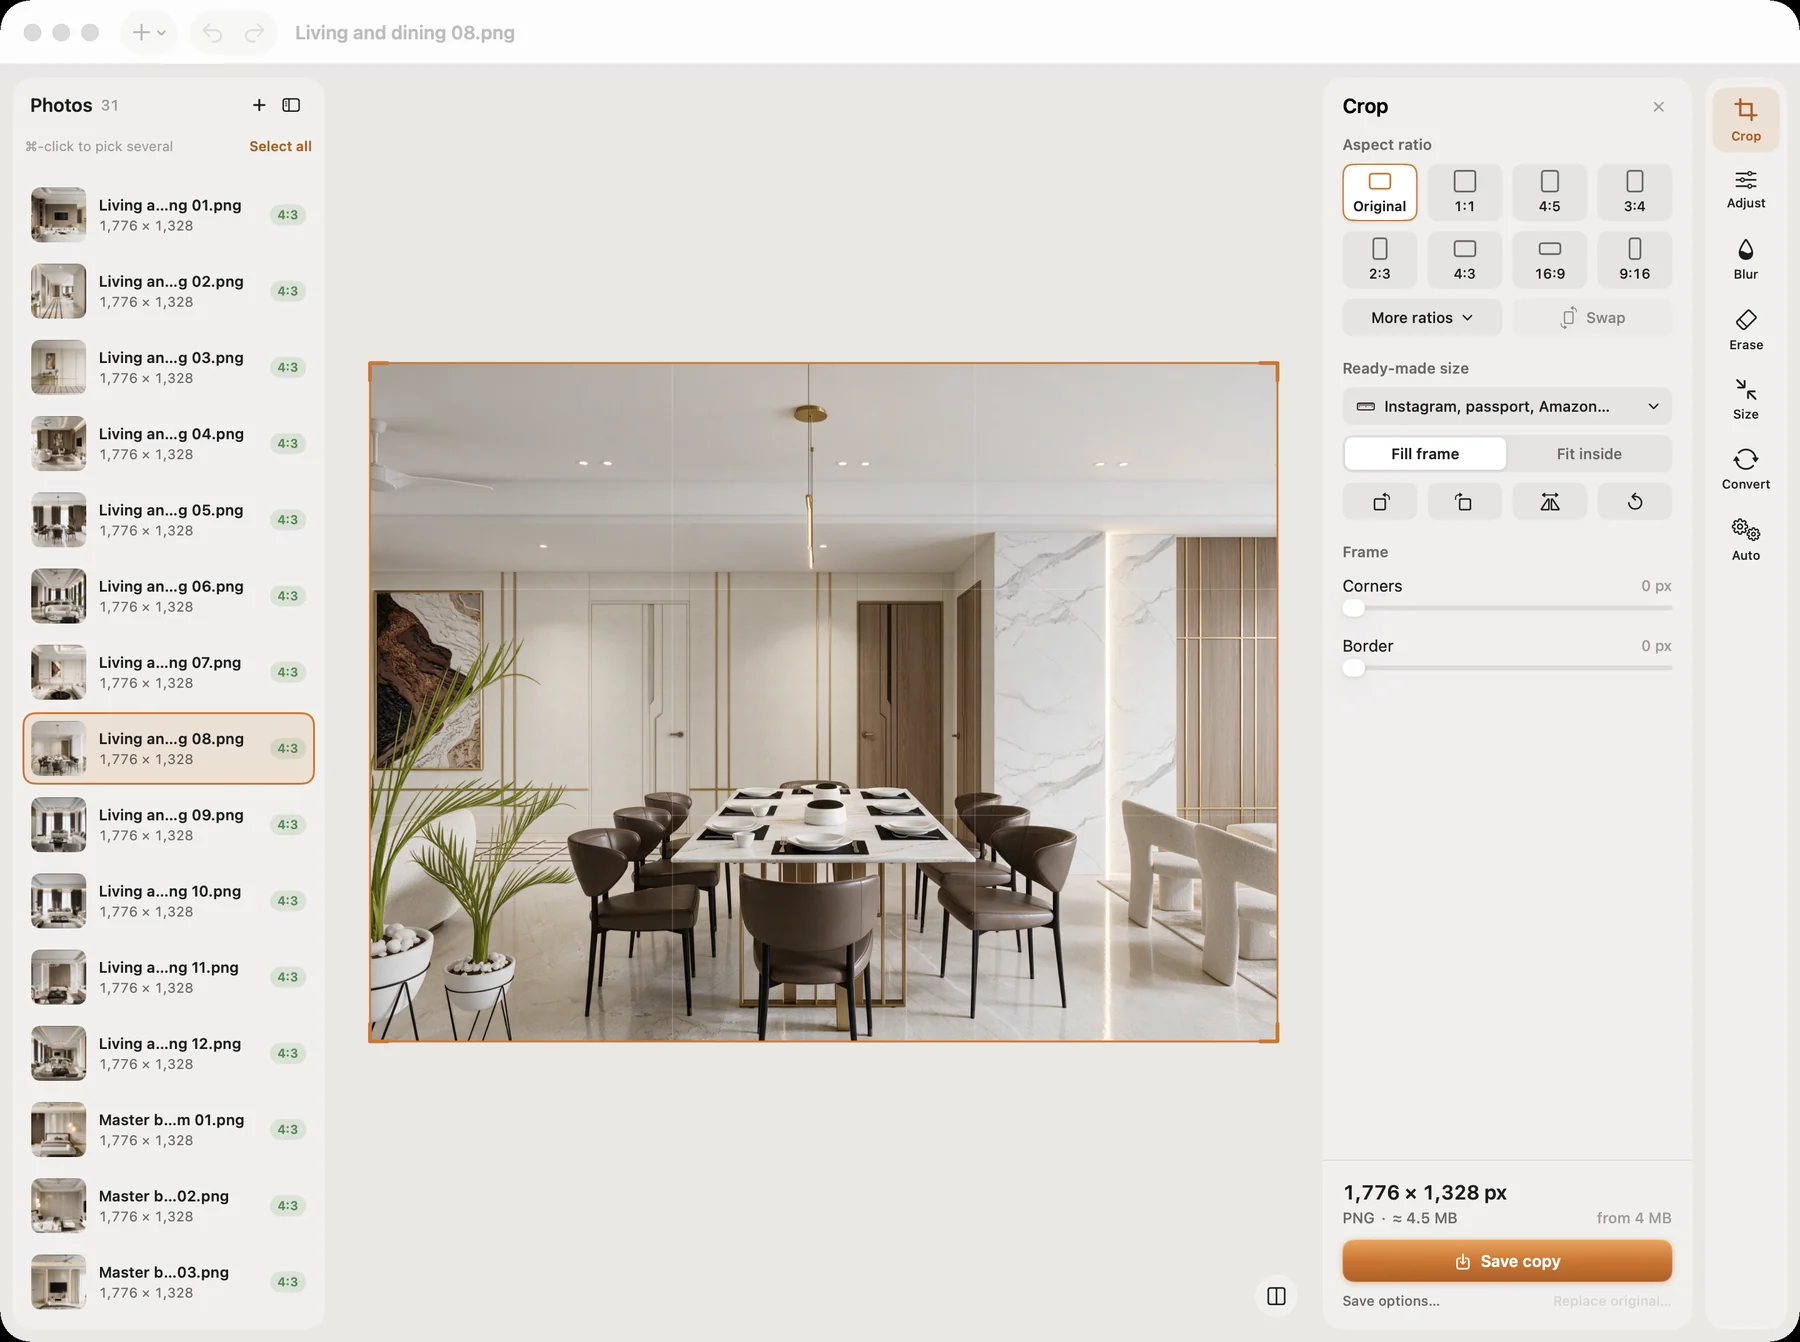
- Opens and saves JPEG, PNG, HEIC, TIFF, PDF, ICO, ICNS and GIF.
- Batch resize a whole folder in one Save. Originals are never changed: copies go to a Pictailor folder beside them.
- Compress to an exact file size (under 500 KB, 100 KB, 20 KB…), checked on the real saved file. It never enlarges a photo.
- Ready-made sizes for social posts, online shops, passport and ID photos for many countries, exam photos and signatures.
- Right-click photos in the Finder (Services) to resize without opening the app.
Pictailor is available now from vistaar.studio for $5 (₹499 in India), paid up front, with a licence key for 1 Mac. It's also on the Mac App Store for $4.99. It runs on Apple Silicon and Intel Macs with macOS 15 or later. Meet Pictailor →
FAQ
How do I convert HEIC to JPG on a Mac for free?
Select the photos in the Finder, Control-click › Quick Actions › Convert Image, choose JPEG and click Convert. The JPGs are saved next to the originals.
How do I convert many HEIC files to JPG at once on Mac?
Select them all and use Convert Image, or open them in Preview and use File › Export Selected Images. For very large folders, use sips -s format jpeg *.heic --out jpg/ in Terminal.
Does converting HEIC to JPG lose quality?
Slightly, because JPEG compresses the photo again, but at high quality you won't see it. Expect the JPG to be larger than the HEIC.
Will I lose the date and location when I convert?
Not if you tick Preserve Metadata in Convert Image. Check one converted file with Get Info (⌘ I) before deleting any originals. Untick it if you'd rather not share where the photo was taken.
How do I stop my iPhone taking HEIC photos?
Settings › Camera › Formats › Most Compatible. New photos are saved as JPEG; older ones stay HEIC.
Why does my upload form reject HEIC photos?
Many portals and older programs only accept JPG or PNG. Convert first, then check the form's pixel and KB limits too.