Guides › Photos
How to remove the background from an image on Mac
Updated 12 October 2026 · by Vistaar Studio
Short answer: in the Finder, Control-click the image and choose Quick Actions › Remove Background (it may sit under More). macOS finds the subject and saves a new PNG copy with a transparent background beside the original. It's free and built into macOS Ventura (13) and later, no app or website upload needed.
Since Ventura, Apple has put the same subject-detection in several places: the Finder, Preview, Photos, Safari, Quick Look and the iWork apps. They all use the same engine, so the cut-out quality is similar; what changes is where the result goes. Below is which one to use when, how to get the white background that Amazon and other shops ask for, and what to do on an older Mac.
1. Finder: Remove Background (fastest)
- Find the image in the Finder (on the Desktop, in Downloads, anywhere).
- Control-click (right-click) it and choose Quick Actions. If you don't see Remove Background straight away, look under More.
- Click Remove Background. After a moment a new PNG file appears in the same folder. The original is not touched.
Not in the menu? Choose Quick Actions › Customize (or More › Customize) and make sure Remove Background is ticked in the list of Finder extensions. It only shows up for image files, and only on macOS Ventura or later.
2. Preview: when you want to fix the edges
Preview is the one to use when the automatic cut-out isn't quite right, because you can clean it up in the same window.
- Open the image in Preview.
- Keep your original: choose File › Duplicate and work on the copy. Preview removes the background in the file you have open.
- Choose Tools › Remove Background, or press ⇧ ⌘ K. If Preview asks to convert the document to PNG, click Convert (PNG is what keeps the transparency).
- To tidy up, show the Markup toolbar (View › Show Markup Toolbar) and use Instant Alpha or a lasso selection on the bits that were left behind, then press Delete.
- Save. If something went wrong, Edit › Undo brings the background back.
3. Photos, Safari and Quick Look: Copy Subject
If you only want to drop the cut-out into a message, document or slide, you don't need a file at all.
- Open the photo in Photos (or Control-click an image on a web page in Safari, or select a file in the Finder and press Space for Quick Look).
- Control-click the image and choose Copy Subject. In Photos there's also Share Subject.
- Paste it where you need it: Messages, Mail, Notes, Pages, Keynote.
Want a file after all? Open Preview and choose File › New from Clipboard, then File › Export, set the format to PNG and keep Alpha ticked. Copy Subject only appears when macOS detects a clear subject, such as a person, pet or object in the foreground.
4. Keynote or Pages: cut out and place it in one go
Building a slide, flyer or poster? Drag the photo into a Keynote slide or Pages document, select it and choose Format › Image › Remove Background. You can then click other areas to remove them as well. The original file on your Mac is not changed; the edit lives inside the document.
Put the subject on a white background (for shops)
Amazon, Flipkart, Etsy and many marketplaces want the main product photo on plain white, usually square. A transparent PNG isn't enough, because many upload forms turn the transparent area black or reject PNG altogether. A free way with Keynote:
- Remove the background with the Finder Quick Action (step 1 above).
- In Keynote, create a new presentation with a plain white theme. Choose Document in the toolbar and set Slide Size to Custom, for example 2000 × 2000.
- Drag the PNG onto the slide, resize it to fill most of the square and centre it (Keynote shows yellow guides when it's centred).
- Choose File › Export To › Images, pick JPEG and export.
Before uploading, check the shop's own image rules for minimum size and how much of the frame the product should fill; they differ between marketplaces and change from time to time. For Amazon specifically, see Amazon's white background and size rules on Mac, including a batch recipe.
Which way should you use?
| Finder | Preview | Copy Subject | Keynote / Pages | |
|---|---|---|---|---|
| Gives you a file | Yes, a new PNG | Yes (edits the open file) | No, clipboard only | Inside the document |
| Keeps the original | Yes | Only if you duplicate first | Yes | Yes |
| Fix the edges by hand | No | Yes (Instant Alpha, lasso) | No | Click to remove more |
| Best for | Quick cut-outs | Tricky photos | Messages and notes | Slides and flyers |
Getting a cleaner cut-out
- Start with contrast. A dark object on a light wall (or the reverse) cuts out far better than a beige bag on a beige sofa.
- Keep the subject whole. Feet, ears or handles that run off the edge of the frame often come out with hard, straight edges.
- Hair and fur are the hard part. Expect some fringing; Preview's Instant Alpha and a soft, plain background when you shoot both help.
- Several subjects? macOS may keep all of them, or only the one it thinks is the main subject. Crop first if you only want one.
- Save as PNG. JPEG can't store transparency, so a cut-out saved as JPG gets a solid background again.
On macOS Monterey or earlier: Instant Alpha
Older Macs don't have the one-click option, but Preview's Instant Alpha has been there for years. Open the image, click the Markup button (the pen tip), choose Instant Alpha (the magic-wand icon), then click and drag across the background. The selection grows as you drag; let go, press Delete, and repeat for the remaining patches. It works best on plain, single-colour backgrounds. Save as PNG to keep the transparency.
Cut-outs, white backgrounds and sizes in one app: Pictailor
We make this app, so read this part with that in mind. Removing the background is often only one step: the shop or form also wants a certain size, a white square or a small file. Pictailor is a batch photo resizer for Mac that keeps those steps together.
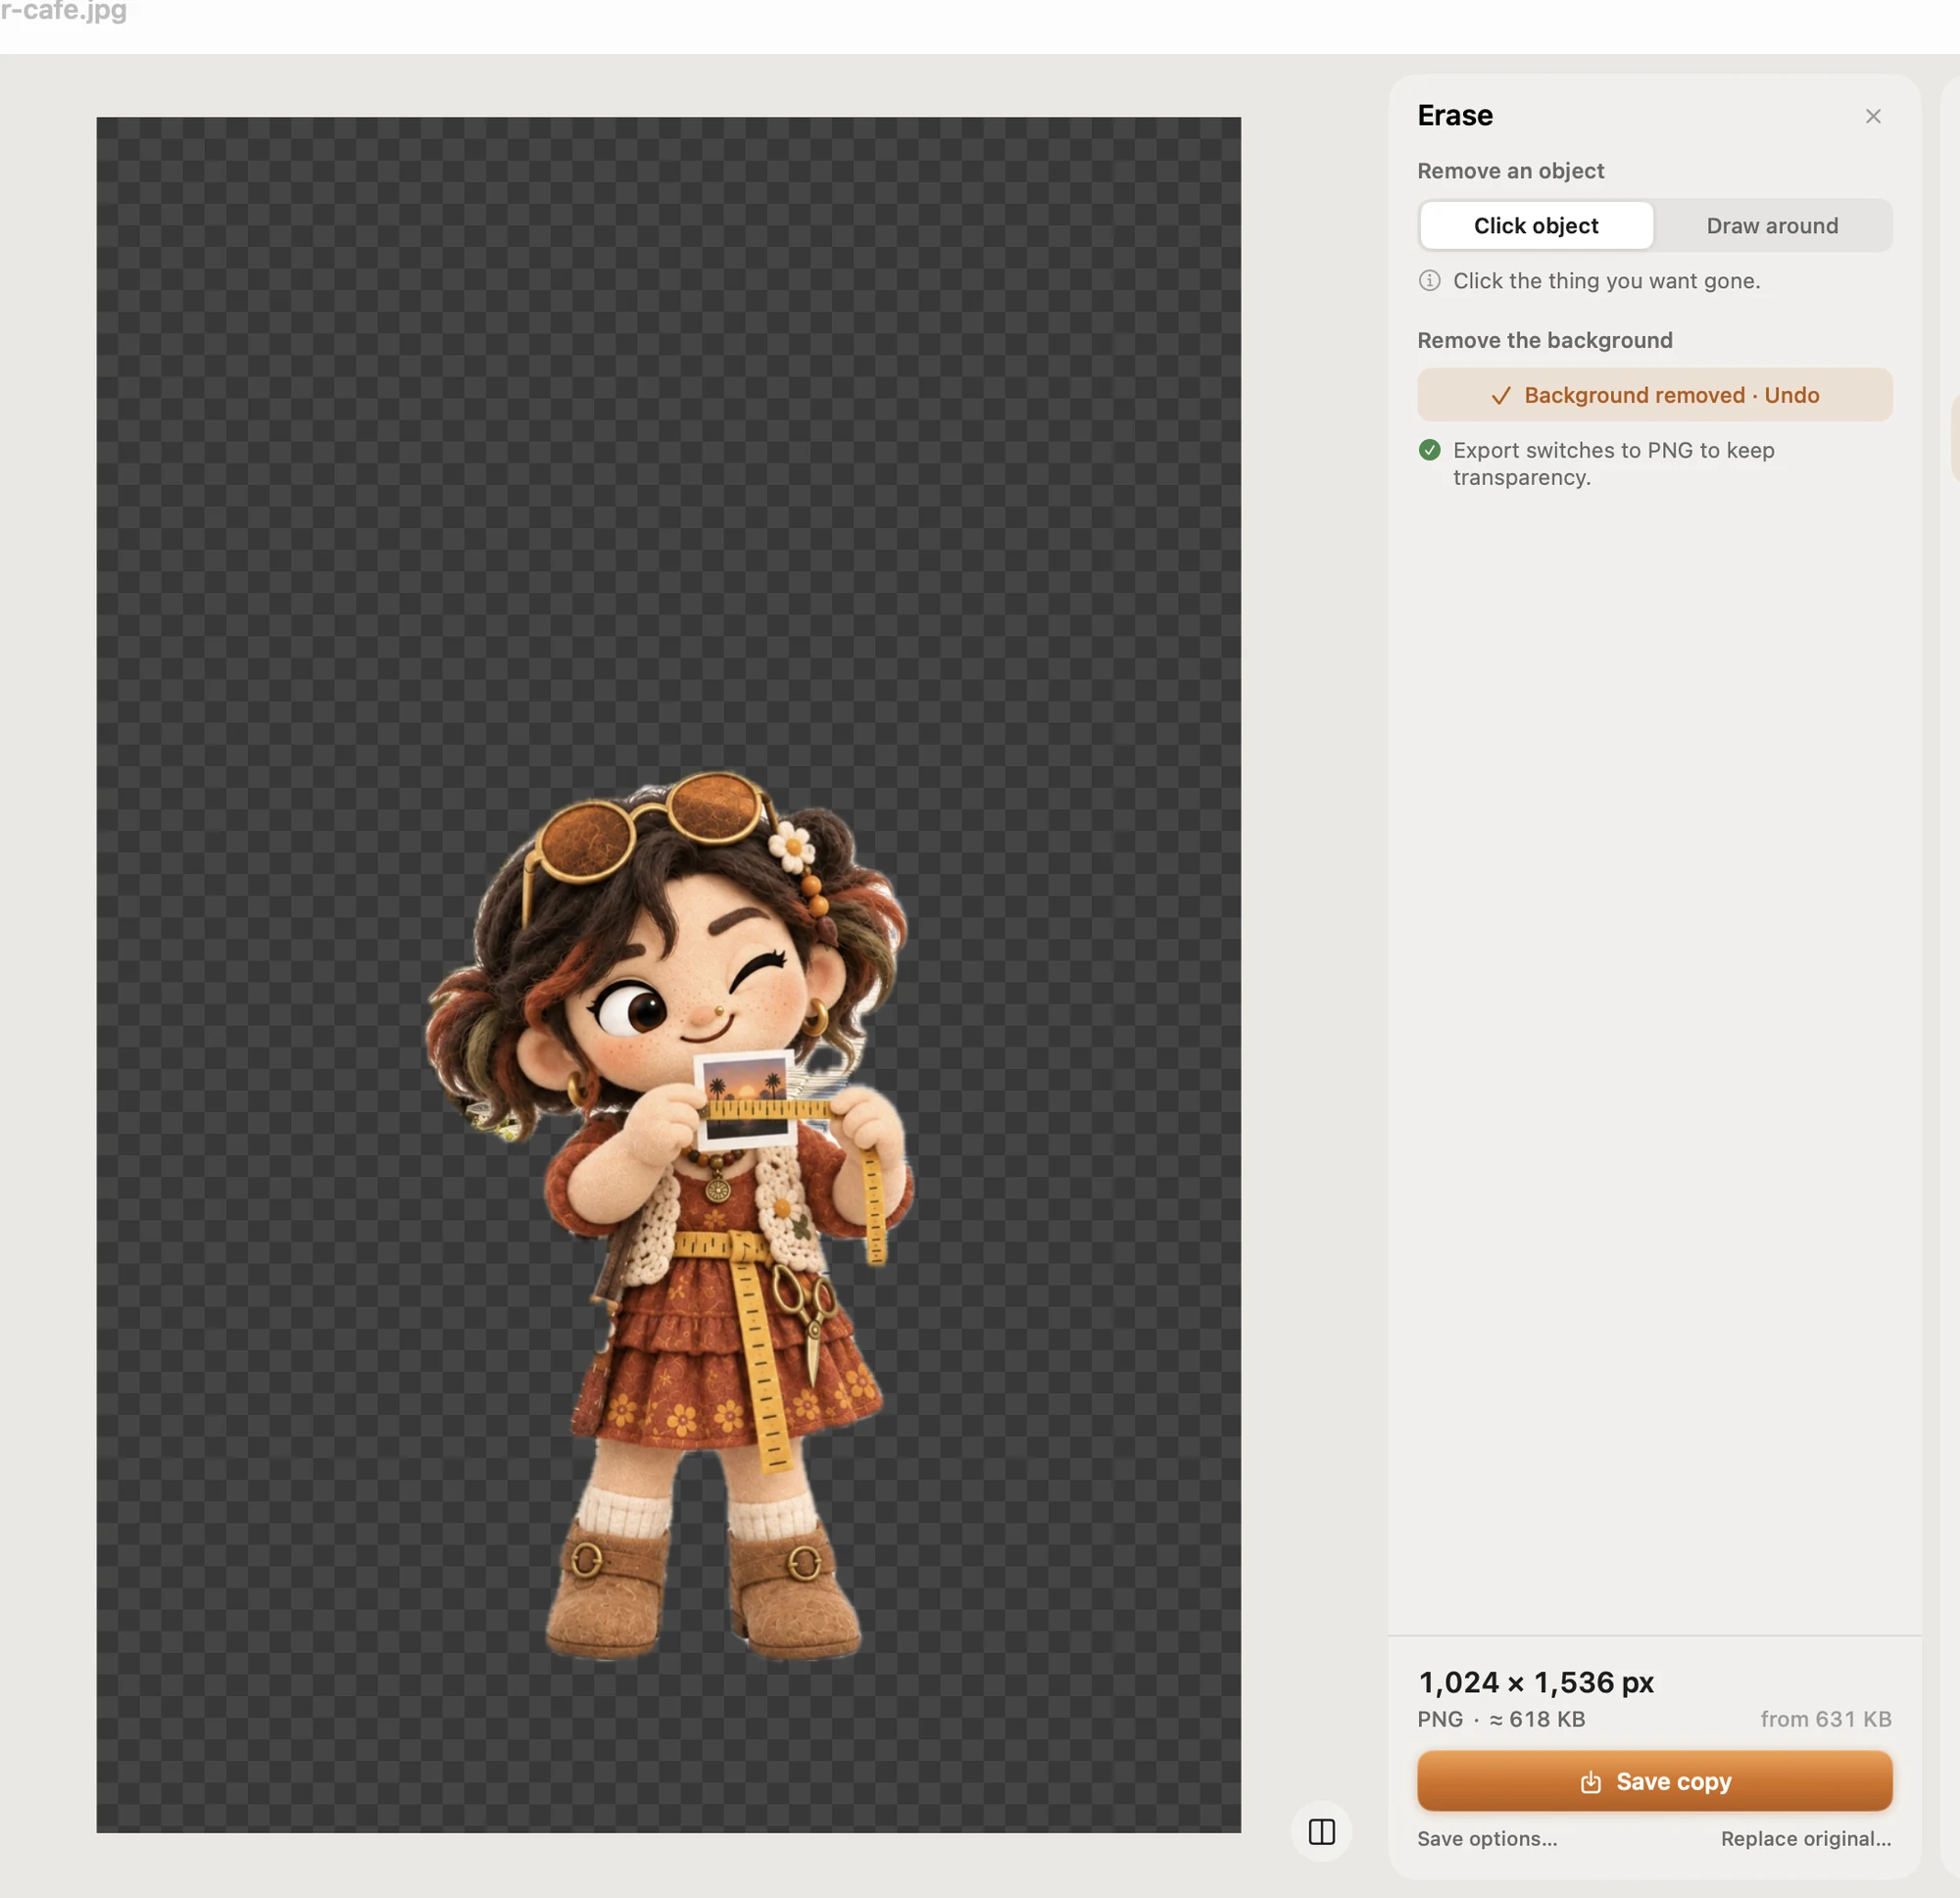
- Remove the background on-device, and erase small objects such as a stray bit of paper (a one-time model download).
- Ready-made sizes for online shops (Amazon and Shopify-style white squares), social posts, passport and ID photos for many countries, exam photos and signatures.
- Compress to an exact file size (under 500 KB, 100 KB, 20 KB…), checked on the real saved file. It never enlarges a photo.
- Batch resize a whole folder in one Save. Originals are never changed: copies go to a Pictailor folder beside them.
Pictailor is available now from vistaar.studio for $5 (₹499 in India), paid up front, with a licence key for 1 Mac. It's also on the Mac App Store for $4.99. It runs on Apple Silicon and Intel Macs with macOS 15 or later. Meet Pictailor →
FAQ
How do I remove the background from a picture on a Mac for free?
In the Finder, Control-click the image › Quick Actions › Remove Background. A transparent PNG copy appears next to the original. You need macOS Ventura or later.
Why don't I see Remove Background in Quick Actions?
Check More, then Customize to switch it on. It only appears for images, and only on macOS Ventura or later.
Does removing the background in Preview change my original file?
Yes, it edits the open file and converts it to PNG. Choose File › Duplicate first if you want to keep the original. Edit › Undo reverses it.
Why did the transparent background turn white or black?
The image was saved or uploaded as JPEG, which can't store transparency. Keep cut-outs as PNG.
How do I put a product photo on a plain white background on Mac?
Remove the background, place the PNG on a white, square Keynote slide and export it as a JPEG (File › Export To › Images).
Can I remove the background on an older Mac?
Yes: Preview's Instant Alpha in the Markup toolbar. Drag over the background, press Delete, repeat.