Guides › Photos
How to convert JPG to PDF on Mac (and combine images into one PDF)
Updated 4 November 2026 · by Vistaar Studio
Short answer: select one image or several in the Finder, Control-click and choose Quick Actions › Create PDF. You get one PDF with each image on its own page, saved next to the originals. For a single image you can also open it in Preview and choose File › Export as PDF…. Both are free and built in, and they work the same for PNG and HEIC.
Usually it's for a portal that only takes PDFs: an ID card front and back, receipts, signed pages. Below are the built-in ways and how to keep the PDF small. We tested the Terminal commands on macOS Tahoe 26.2 and checked the menu names in the apps on that Mac.
Which way should you use?
| You want… | Best built-in way |
|---|---|
| Several images in one PDF, fast | Finder › Quick Actions › Create PDF |
| One image as a PDF | Preview › File › Export as PDF… |
| Every page A4 or Letter, images scaled to fit | Preview › File › Print › PDF › Save as PDF |
| A repeatable button for the same job | Shortcuts › Make PDF |
| Hundreds of images, or a script | Terminal: sips plus Apple's join tool |
1. Finder: Create PDF (easiest for several images)
- In the Finder, click the images in the order you want the pages. Hold ⌘ while clicking to add each one.
- Control-click (right-click) one of the selected files and choose Quick Actions › Create PDF.
- A new PDF appears in the same folder, named after the first file you selected. Rename it if you like.
Apple says the pages follow the order in which you selected the files. If you drag a box or press ⌘ A instead, the order is harder to predict, so click them one by one or rename them 01, 02, 03 first. You can also fix the order later in Preview. The Finder's Preview pane (View › Show Preview) has a Create PDF button too.
Each page takes the shape of its image. For A4 pages, use section 3.
2. Preview: one image, or a quick combined PDF
For a single image: open it in Preview, choose File › Export as PDF… and click Save. The original stays as it is.
For several images with a page order you can see while you work:
- Select all the images in the Finder and press ⌘ O so they open together in one Preview window.
- Choose View › Thumbnails to show the sidebar.
- Drag the thumbnails into the order you want.
- Click one thumbnail and press ⌘ A to select them all.
- Choose File › Print…, then open the PDF menu at the bottom-left of the dialog and choose Save as PDF….
You get one PDF, one image per page. To reorder an existing PDF, open it in Preview, show Thumbnails, drag the pages and save.
3. Make every page A4 (or Letter)
Forms and printers often expect a normal paper size:
- Open and select the images in Preview as in section 2, then choose File › Print….
- Set Paper Size to A4 (or US Letter).
- Choose Scale to Fit so each image fills the page without being cropped. Auto Rotate turns landscape photos sideways to fit better; switch it off if you want every page upright.
- Open the PDF menu and choose Save as PDF….
Images in the Photos app? Select them, choose File › Print, then PDF › Save as PDF….
4. Shortcuts: a one-click PDF maker
The Shortcuts app has a Make PDF action. Add it to a new shortcut, follow it with Save File, and turn on Use as Quick Action in the shortcut's details so it appears in the Finder. Make PDF offers Include Margin and a Merge Behavior of Append or Shuffle; choose Append to keep your order. It's only worth the setup if you want your own name or folder every time.
5. Terminal: what we tested
The built-in sips tool writes a PDF from one image. In Terminal, type cd , drag your folder in, press Return, then:
sips -s format pdf photo.jpg --out photo.pdfTo combine, make one PDF per image, then join them with the tool Apple ships inside Automator's Combine PDF Pages action. The pages follow the order you list the files:
for f in *.jpg; do sips -s format pdf "$f" --out "${f%.*}.pdf"; done
"/System/Library/Automator/Combine PDF Pages.action/Contents/MacOS/join" \
  -o combined.pdf photo1.pdf photo2.pdf photo3.pdf
Here's what we got on macOS Tahoe 26.2, using 1920 × 1080 test images:
| Test | Result |
|---|---|
| JPG (385 KB) to PDF with sips | Worked: 339 KB PDF, one page the same shape as the photo |
| PNG (1.8 MB) to PDF with sips | Worked: 324 KB PDF (sips recompressed the picture) |
| HEIC (146 KB) to PDF with sips | Worked: 309 KB PDF, so bigger than the HEIC |
| Four one-page PDFs joined | Worked: one 4-page PDF, 1.3 MB, pages in the order listed |
| Same four images shrunk to 1200 px first | 4-page PDF of 589 KB |
The join tool is an undocumented part of Automator, so a later macOS could move it. If the path is missing, use Create PDF.
Keep the PDF small enough to upload
A PDF of phone photos is roughly as heavy as the photos inside it, and many portals cap uploads at 1 or 2 MB. Shrink the images before combining: in our test, resizing to 1200 pixels on the long side cut a four-page PDF from 1.3 MB to 589 KB, and the pages were still easy to read. See batch resizing images on Mac or resizing a photo to 50 KB.
Preview also has a quick fix for a finished PDF: open it, choose File › Export…, and pick Reduce File Size from the Quartz Filter menu. Be careful: on our Mac the filter recompresses images as JPEG at 70% quality and 144 pixels per inch, so photos and small text can turn soft, and some files barely shrink. Export to a new name and compare.
Common problems
- Create PDF isn't in Quick Actions. Select the files first, then Control-click on one of them. If it's still missing, choose Quick Actions › Customise… and make sure it's switched on.
- The pages are in the wrong order. Open the PDF in Preview, show Thumbnails and drag them, or rename the images with numbers and combine again.
- A photo comes out sideways. Use Tools › Rotate Left in Preview and save before combining.
- The form wants JPGs, not a PDF? See HEIC to JPG on Mac.
Shrink a whole folder first: Pictailor
We make this app, so read this part with that in mind. For a few images, the free methods above are enough. Pictailor is a batch photo resizer, handy when a pile of phone photos must fit an upload limit before you combine them.
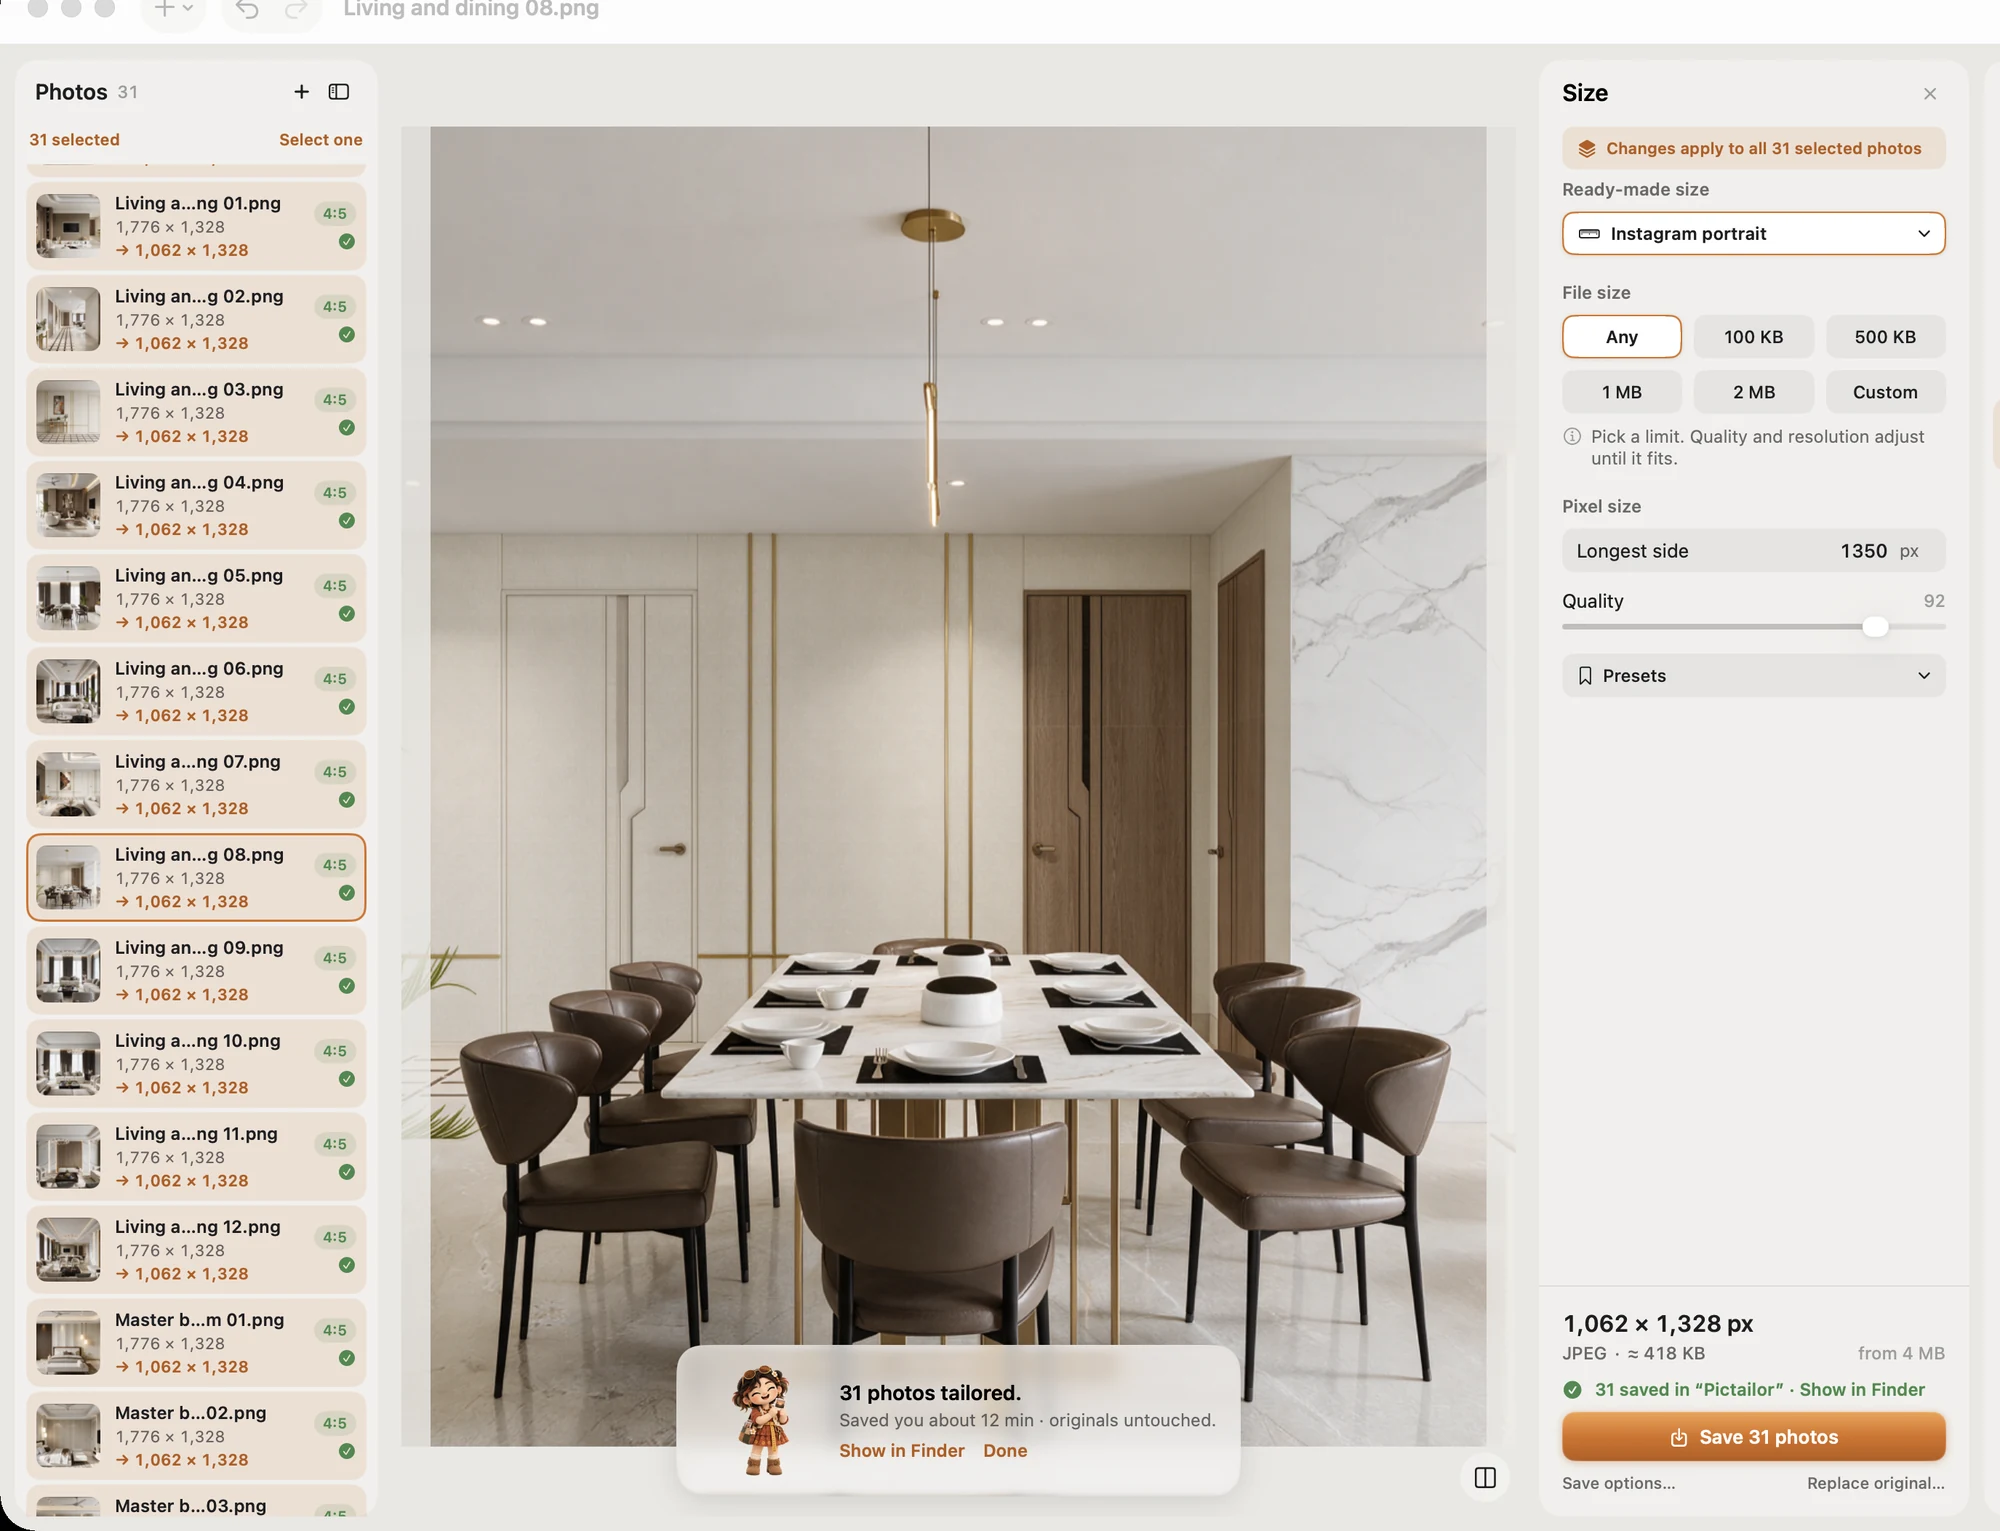
- Batch resize a whole folder in one Save. Originals are never changed: copies go to a Pictailor folder beside them.
- Compress to an exact file size, checked on the real saved file. It never enlarges your photos.
- Saves as JPEG, PNG, HEIC, TIFF, PDF, ICO, ICNS or GIF, so it can also save resized copies as PDFs.
- Right-click in the Finder (Services) to resize without opening the app.
Pictailor is available now from vistaar.studio for $5 (₹499 in India), paid up front, with a licence key for 1 Mac. It's also on the Mac App Store for $4.99. It runs on Apple Silicon and Intel Macs with macOS 15 or later. Meet Pictailor →
FAQ
How do I combine several JPGs into one PDF on a Mac?
Select them in the Finder, Control-click and choose Quick Actions › Create PDF. You get one PDF, one image per page, named after the first file you selected. Apple says the pages follow your selection order.
How do I change the page order in the PDF?
Open it in Preview, choose View › Thumbnails, drag the thumbnails into place and save. Or number the images 01, 02, 03 before combining and select them in that order.
Can I convert HEIC or PNG to PDF the same way?
Yes. Create PDF, Preview and sips all accept HEIC and PNG. Our PNG and HEIC test files both converted without extra steps.
Why is my PDF too big to upload?
The PDF is about as big as the photos inside it. Shrink the images first: four 1920-pixel photos made a 1.3 MB PDF in our test, and the same four at 1200 pixels made 589 KB.
How do I make each image fill an A4 page?
Print from Preview: set Paper Size to A4, choose Scale to Fit, then PDF › Save as PDF…. Create PDF and sips make each page the size of the image instead.
Does Preview's Reduce File Size filter work well for photos?
It can shrink a PDF a lot, but it can also make photos and text soft, and sometimes it hardly helps. Keep the original and check the result; resizing the images first gives you more control.