Guides › Photos on Mac
How to resize a signature to 10–20 KB on Mac
Updated 13 October 2026 · by Vistaar Studio
Short answer: open the photo of your signature in Preview, crop it close, use Tools › Adjust Color to turn the paper white, set the pixel size in Tools › Adjust Size, then File › Export as JPEG and move the Quality slider until the File Size reads between 10 and 20 KB. The catch: a clean signature is often too small, not too big, so you may need to raise the quality rather than lower it.
Exam portals, bank recruitment forms, scholarship sites and many government services ask for a signature image with a strict size window, most often 10–20 KB. A phone photo of a signature is a few megabytes, full of grey paper and shadows, and in the wrong shape. Here's how to turn it into a file the form accepts using only what's already on your Mac.
First, read the form's exact rules
Every notification has its own wording, but the common pattern on Indian recruitment forms looks like this (from an RBI recruitment notice's upload guidelines):
- Format: JPG/JPEG.
- File size: between 10 KB and 20 KB.
- Dimensions: 140 × 60 pixels, marked "preferred" (other forms ask for something like 350 × 150 px, or give a size in centimetres).
- Ink and paper: black (sometimes blue) ink on plain white paper.
- Style: your normal running signature, not in capital letters.
Write down three numbers before you start: the minimum KB, the maximum KB and the pixel size (and whether the pixel size is required or only preferred). Rules change between exams and years, so always use the current notification, not a guide, including this one.
Step 1: a good photo of your signature
Sign on clean white paper with a black pen, a little bigger than usual so the strokes stay clear when shrunk. Then get it onto the Mac:
- From your iPhone, straight into Preview: open Preview, choose File › Import from iPhone or iPad › Take Photo (or Scan Documents), and take the photo on the phone. It appears on the Mac in a moment.
- Or take the photo normally and AirDrop it, or use a scanner at 200 dpi or more.
Shoot in daylight from straight above, with no shadow from your phone. The cleaner the photo, the less fixing later.
Step 2: crop, whiten and size it in Preview
- Work on a copy. Select the file in the Finder and press ⌘ D. Open the copy in Preview.
- Crop tightly. Drag a box around the signature with a small margin, then choose Tools › Crop (⌘ K). If the form gives a shape such as 140 × 60 (about 7 : 3), try to crop close to that proportion so the signature isn't squashed later.
- Turn the paper white. Choose Tools › Adjust Color. Drag Saturation all the way left to make it black and white, then raise Exposure and Contrast until the paper is pure white and the ink stays dark. Grey, shadowy paper is the main reason signatures get rejected as unclear, and it also bloats the file.
- Set the pixel size. Choose Tools › Adjust Size, set the unit to pixels and type the width the form asks for. If you must hit an exact width and height (140 × 60), untick Scale proportionally and type both; if your crop was close to the right shape, the distortion is invisible.
- Export as JPEG. Choose File › Export, set Format to JPEG, and watch the File Size readout under the Quality slider while you move it. Stop inside the window, ideally in the middle (around 14–16 KB for a 10–20 KB rule).
- Check the saved file. Select it in the Finder and press ⌘ I. Look at the exact number of bytes. macOS counts 1 KB as 1,000 bytes, and some portals count 1,024, so a file right on the edge can be rejected.
"File too small": the problem nobody warns you about
Most KB guides are about making photos smaller. Signatures are the opposite. A black-on-white signature is mostly flat white, which JPEG compresses brilliantly. When we tested a cleaned signature on macOS 26.2, here's what we got:
| Pixel size | JPEG quality | Saved file |
|---|---|---|
| 140 × 60 | 80% | about 3 KB |
| 140 × 60 | 100% | about 6 KB |
| 350 × 150 | 80% | about 9 KB |
| 350 × 150 | 90% | about 11 KB |
| 466 × 200 | 85% | about 16 KB |
So at the "preferred" 140 × 60, a clean signature can't reach 10 KB even at maximum quality. What to do:
- Raise the quality first. Drag the slider to the right until the file is over the minimum.
- If the pixel size is only "preferred", use a larger size in the same proportion (280 × 120 or 350 × 150 keep the 7 : 3 shape) and adjust quality to land at 12–18 KB. Many portals check only the KB range and resize the image themselves.
- If the pixel size is strict and the file is still under the minimum, re-read the notification: some list a pixel size for scanning advice and a KB range for upload, and the portal's own error message usually says which one it is checking.
Don't add noise, borders or a grey background to pad the size. It can make the signature look unclear, which is the one thing these forms reject by hand.
Terminal: the same thing in one line
If you like Terminal, macOS includes sips. This makes a 350 × 150 grayscale JPEG at quality 90 from sign.jpg, leaving the original alone:
sips --matchTo "/System/Library/ColorSync/Profiles/Generic Gray Profile.icc" -z 150 350 -s format jpeg -s formatOptions 90 sign.jpg --out sign-upload.jpg
ls -l sign-upload.jpg
Note that -z takes height first, then width, and stretches to exactly that size, so crop to the right shape first. sips won't whiten grey paper for you, so do the colour clean-up in Preview beforehand. Change the quality number (formatOptions) up or down and rerun until ls -l shows a size inside your window.
An app that cleans and sizes signatures for you
If you fill in a lot of forms, or help family and students with theirs, the trial and error adds up. We make Pictailor, a batch photo resizer for Mac, and it has a ready-made Signature · 10–20 KB size, so weigh this with that in mind.
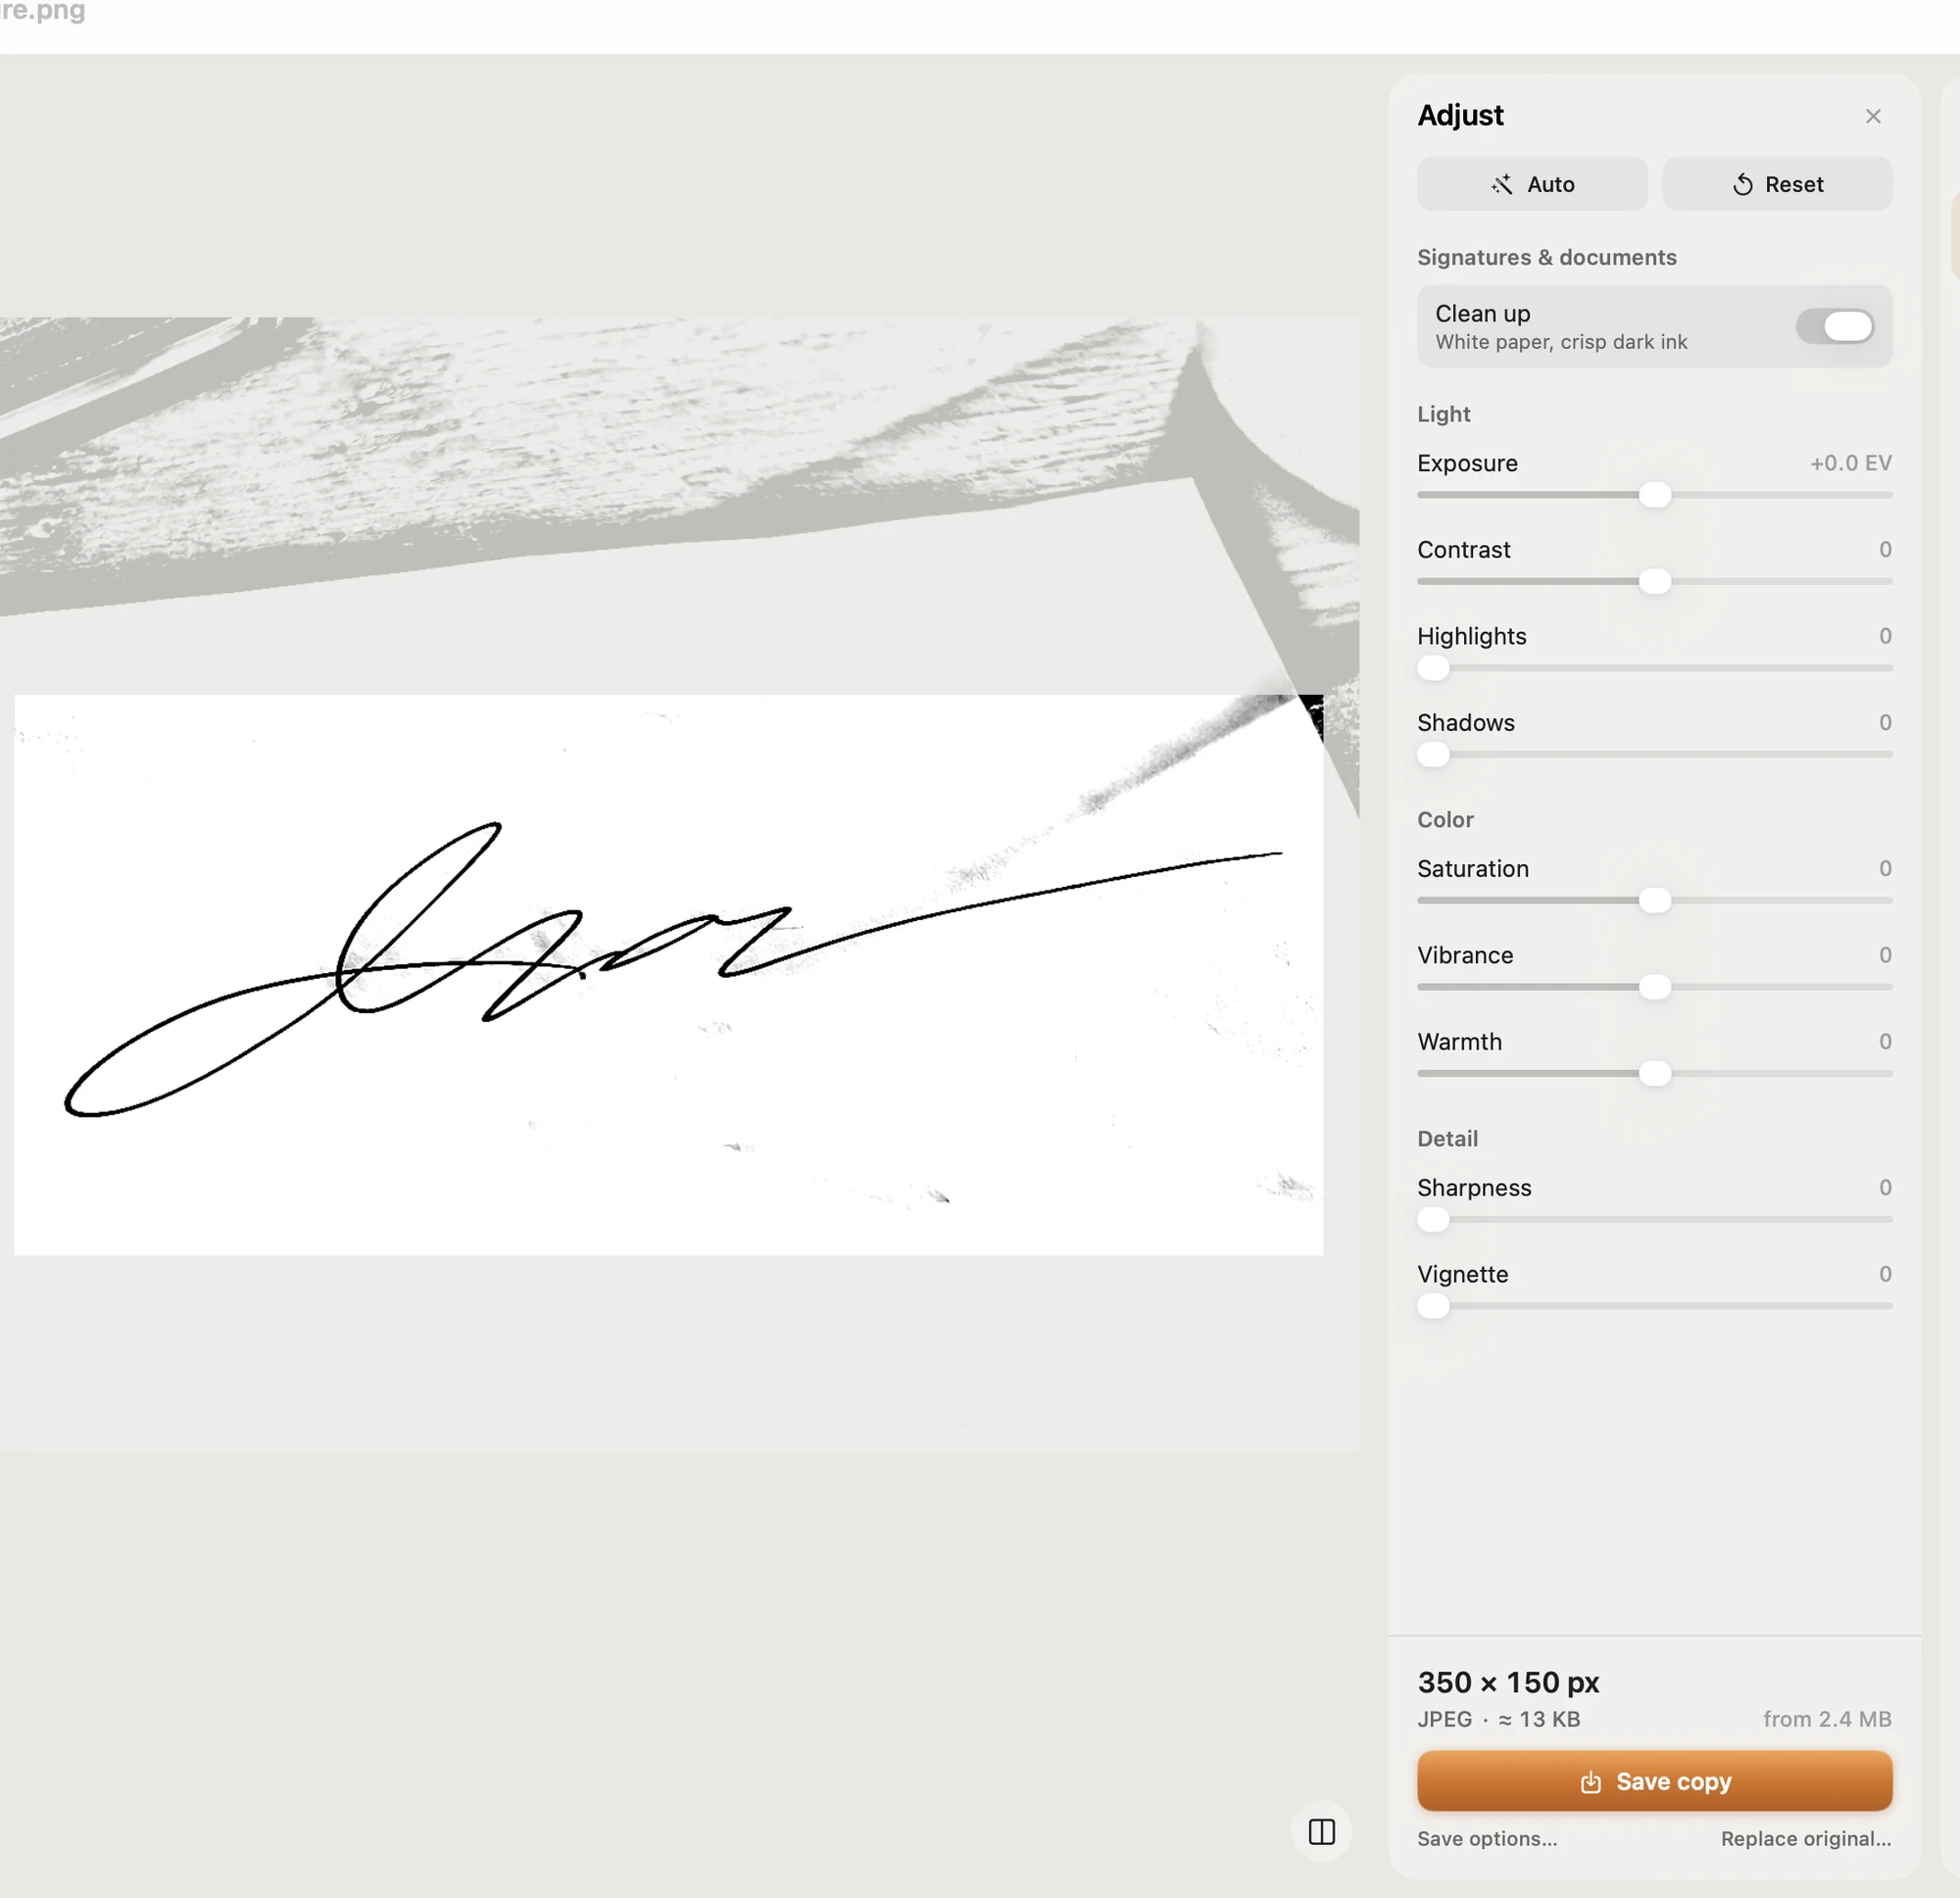
- Ready-made sizes for signatures (10–20 KB), exam photos and local passport and ID photos in many countries.
- Or set any file size limit yourself; it's checked on the real saved file.
- Originals are never changed: copies go into a Pictailor folder beside them.
- Saves JPEG, PNG, HEIC, PDF and more, and works from a right-click in the Finder.
Pictailor is available now from vistaar.studio for $5 (₹499 in India), paid up front, with a licence key for 1 Mac. It's also on the Mac App Store for $4.99. It runs on Apple Silicon and Intel Macs with macOS 15 or later. Meet Pictailor →
Before you upload: a 20-second check
- JPEG/JPG, unless the form says otherwise.
- Inside the KB window, with a little margin on both sides.
- The right pixel size or proportion, if it's mandatory.
- White background, dark ink, nothing cut off at the edges.
- Your usual running signature, not capitals, and the same one you'll sign at the exam hall.
- Open the file once more and zoom in. If you can't read it clearly, neither can the person checking it.
FAQ
How do I make my signature 20 KB on a Mac?
In Preview: crop it, whiten the paper with Tools › Adjust Color, set the size with Tools › Adjust Size, then File › Export as JPEG and move Quality until File Size reads between 10 and 20 KB.
Why does the form say my signature is too small?
Clean signatures compress very well. At 140 × 60 px ours was about 3 KB, and only about 6 KB at maximum quality. Raise the quality, and if the pixel size is only "preferred", use a larger size in the same proportion.
What size should a signature be for SSC, IBPS or bank exams?
Commonly a 10–20 KB JPEG, often 140 × 60 px (preferred), black ink on white paper, running hand. Check the current notification, as rules change.
Can I use Preview's signature tool for an exam form?
No. Preview's Annotate › Signature is for signing PDFs. Forms want an image of your own handwritten signature on paper.
How do I get a signature photo from my iPhone to my Mac?
In Preview choose File › Import from iPhone or iPad › Take Photo (or Scan Documents). AirDrop works too.
Should the signature be PNG or JPEG?
Whatever the form asks for, which is almost always JPEG. JPEG's quality slider is also what lets you land inside a 10–20 KB window.