Guides › Photos on Mac
Indian passport photo size, and how to make one on a Mac
Updated 14 October 2026 · by Vistaar Studio
Short answer: an Indian passport photo is 630 × 810 pixels (width × height) for uploads, which is the same shape as the usual 35 × 45 mm print. It must be in colour, on a white background, with your face filling 80–85% of the photo, eyes open, mouth closed and no glasses. On a Mac, take the photo against a white wall, crop it to a 7 : 9 shape in Preview, then use Tools › Adjust Size to set 630 × 810 and export it as a JPEG.
The rules changed in 2025, when Indian embassies and consulates started asking for ICAO-compliant photos, so older guides quote different numbers. Here's the current specification, then how to make the file with what's already on your Mac.
The current specification
These points come from the ICAO photo guidelines that Indian missions publish for passport applicants (for example the Embassy of India in Tehran's notice):
| Rule | What it means |
|---|---|
| Size | 630 × 810 pixels, colour. Printed, that's the familiar 35 × 45 mm shape (7 : 9). |
| Framing | Close-up of the head and top of the shoulders; the face takes up 80–85% of the photo; full head from the top of the hair to the bottom of the chin, centred, not tilted. |
| Background | White, with no shadows on the face or behind you. |
| Face | Looking straight at the camera, eyes open and clearly visible, mouth closed, natural expression, no hair across the eyes. |
| Glasses | Take them off to avoid reflections. |
| Head covering | Only for religious reasons, with the face from chin to forehead and both edges visible. |
| Editing | Photos should be unaltered by computer software. |
| File size | Some missions set a limit, e.g. a maximum of 250 KB (Embassy of India, Kuwait). |
Two things are still worth checking with the office you're applying to. First, the start date differed between missions (the Dubai consulate said 1 September 2025, Doha made uploads mandatory from 1 December 2025). Second, some embassy pages still show the old 51 × 51 mm (2 × 2 inch) square. If the form or the centre's checklist gives a size, that wins.
Applying in India?
For a passport application made in India, your photo is usually taken at the Passport Seva Kendra or Post Office Passport Seva Kendra at your appointment, so you normally don't upload one. You'll still want a 35 × 45 mm file for the many other forms that ask for a "passport-size photo": exams, bank and job applications, and visas for other countries (check each one, as their sizes differ).
Step 1: take a photo that will pass
The rules say not to edit your face or background, so most of the work happens here.
- Stand about a metre in front of a plain white wall, facing a window so the light is even. Avoid overhead light that throws shadows under the eyes.
- Ask someone to take it at your eye level from about 1.5 m (the guideline's distance); crop later rather than moving closer, as close-up selfies distort faces.
- Glasses off, hair away from the eyes, mouth closed, look straight into the lens.
- Leave plenty of space around your head. You'll crop it later.
- Move it to the Mac with AirDrop, or open Preview and use File › Import from iPhone or iPad › Take Photo.
Step 2: crop and size it in Preview
- Work on a copy. Select the photo in the Finder, press ⌘ D and open the copy in Preview. If it's a HEIC from an iPhone, that's fine; you'll export a JPEG at the end.
- Crop to 7 : 9. Drag a selection from just above your shoulders, with your face in the middle. Preview shows the selection's size in pixels as you drag; aim for a width-to-height ratio of 7 : 9, for example 1400 × 1800 or 2100 × 2700. Your face (chin to the top of the hair) should fill most of the height. Press ⌘ K to crop.
- Set the size. Choose Tools › Adjust Size, set the unit to pixels, keep Scale proportionally ticked and type 630 for the width. The height should read 810. If it reads 805 or 816, your crop was slightly off; undo and adjust the crop rather than stretching your face.
- Export as JPEG. Choose File › Export, set Format to JPEG, leave Quality around the middle-high mark and check the File Size readout. It should be comfortably under 250 KB.
- Check it. Open the saved file and zoom in. Eyes sharp? Background white and even? Nothing cut off at the top of your head?
Need prints too?
For a 35 × 45 mm print, use the same 7 : 9 crop, then in Tools › Adjust Size set the unit to cm, type 3.5 × 4.5 and set Resolution to 300 pixels/inch (that gives 413 × 531 pixels). When you print from Preview, set the scale to 100% so it comes out at the real size, and measure the first print with a ruler before you print a sheet of them.
Terminal: the same thing in two lines
If you're comfortable in Terminal, macOS includes sips. This crops a 7 : 9 box from the centre of photo.jpg, then makes the 630 × 810 upload file, leaving the original untouched. Change the first numbers to suit your photo; sips takes height first, then width.
sips -c 2700 2100 photo.jpg --out crop.jpg
sips -z 810 630 -s format jpeg -s formatOptions 85 crop.jpg --out passport-630x810.jpg
For a 300 dpi print file, use sips -z 531 413 -s dpiWidth 300 -s dpiHeight 300 crop.jpg --out passport-print.jpg.
An app with India's passport size built in
If you make these often, for family members or a whole class of students, we make Pictailor, a batch photo resizer for Mac. Keep in mind it's ours. It has a ready-made Passport photo · India 35 × 45 mm size alongside exam photos and signatures, so you pick the size instead of doing the arithmetic.
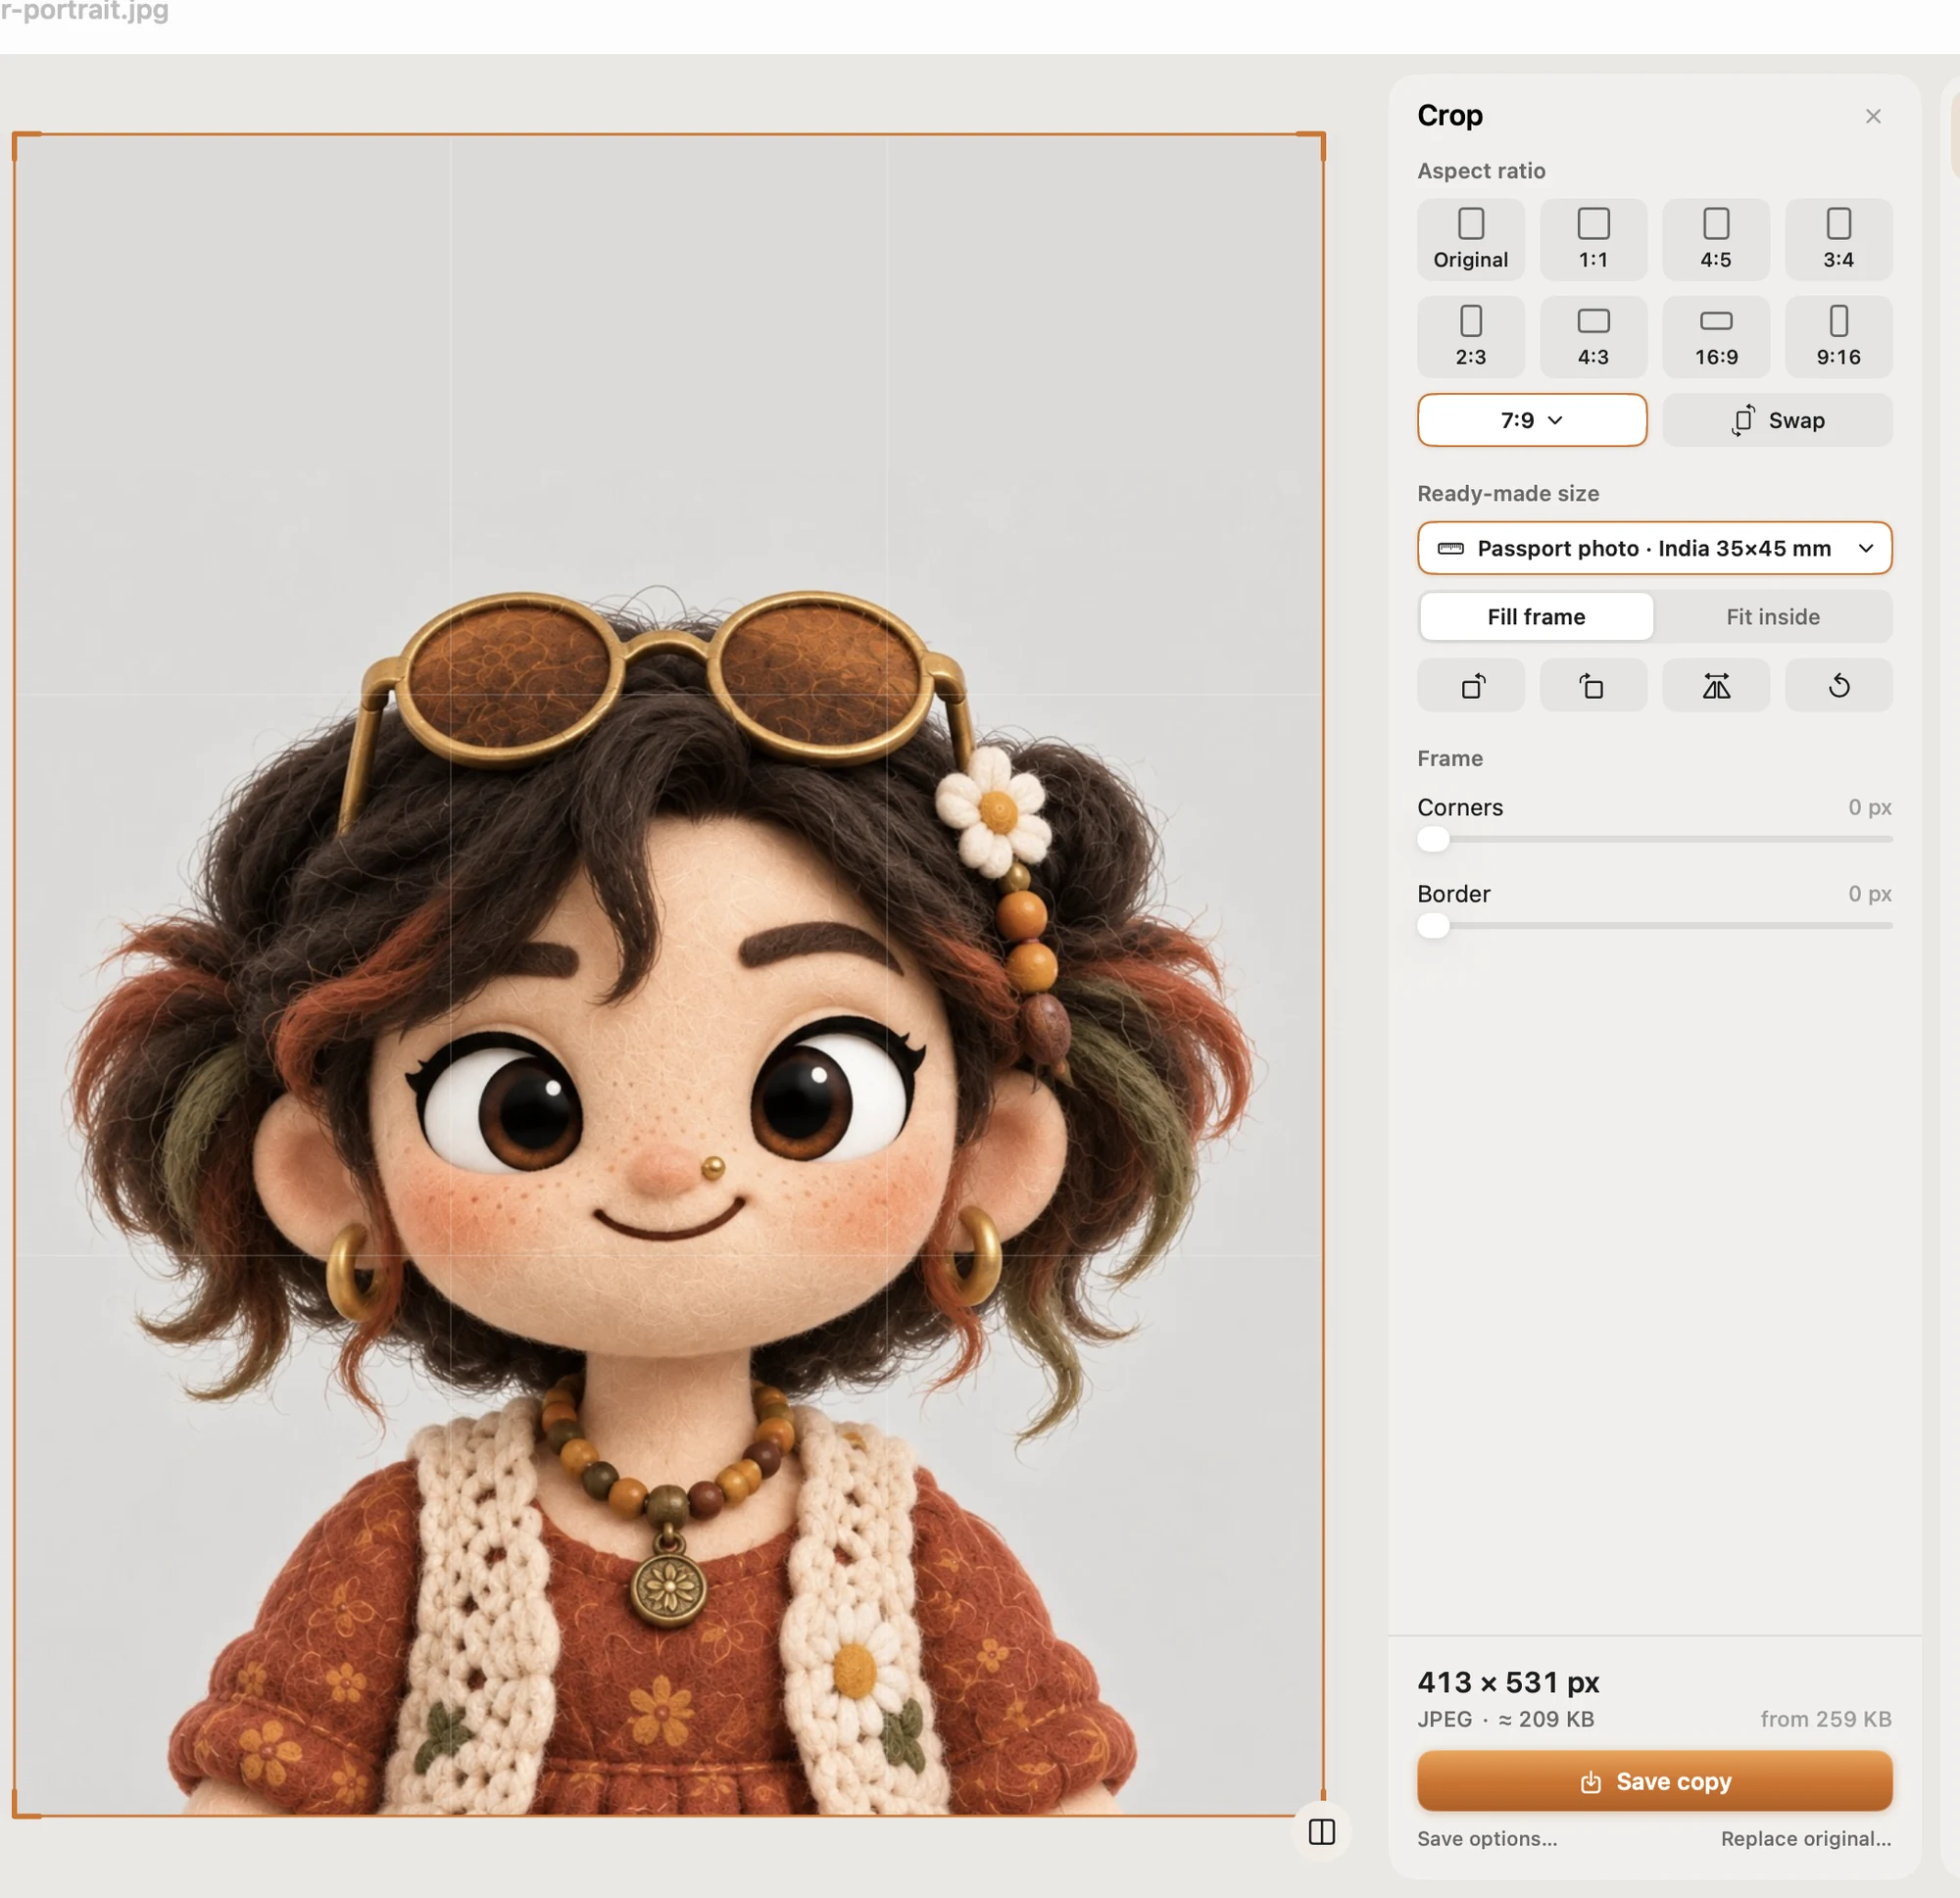
- Ready-made sizes for local passport and ID photos in many countries, exam photos, and signatures (10–20 KB).
- Compress to an exact file size, checked on the real saved file.
- Works on a whole folder at once; originals are never changed (copies go into a Pictailor folder beside them).
The preset makes a 35 × 45 mm photo at 413 × 531 pixels, the right shape for prints and most forms. If your embassy's portal asks for exactly 630 × 810 pixels, use the Preview steps above for that file. And whatever tool you use, the rule about not altering the photo still applies: start from a photo taken against a white wall.
Pictailor is available now from vistaar.studio for $5 (₹499 in India), paid up front, with a licence key for 1 Mac. It's also on the Mac App Store for $4.99. It runs on Apple Silicon and Intel Macs with macOS 15 or later. Meet Pictailor →
Common reasons photos get rejected
- Face too small. A head-and-chest shot cropped to size leaves the face at 50–60% of the height; it needs to be 80–85%.
- Grey or shadowed background. A white wall in dim light photographs grey. Face a window, and stand a step away from the wall so your shadow falls behind you.
- Stretched face. Typing both width and height with "Scale proportionally" off squashes the photo. Fix the crop instead.
- Filters and beauty modes. Turn off portrait lighting, smoothing and filters; the guidelines want natural skin tones.
FAQ
What is the Indian passport photo size in pixels?
630 × 810 pixels (width × height), colour, white background, face 80–85% of the photo. It's the same 7 : 9 shape as a 35 × 45 mm print.
What is the passport photo size in India in mm and cm?
35 mm wide by 45 mm high (3.5 × 4.5 cm). Some embassy pages still show 51 × 51 mm (2 × 2 inch), so check the office you're applying to.
Do I need to upload a photo for a passport application in India?
Usually not: the photo is taken at the Passport Seva Kendra or POPSK during your appointment. Applicants abroad are increasingly asked to upload a 630 × 810 photo themselves.
Can I wear glasses in an Indian passport photo?
Take them off. The guidelines ask for no reflections and say glasses should be removed to avoid them.
What file size should an Indian passport photo be?
Some missions cap it at 250 KB. A 630 × 810 JPEG at normal quality was about 120 KB in our test.
Can I edit the background to white on my Mac?
Better not. The guidelines say photos should be unaltered by software. Take it against a white wall and only crop and resize.